Showing posts with label delicacy. Show all posts

Sunday, December 15, 2013

Bœuf Bourguignon

My favorite fellow foodie from work was gracious enough to invite me to her annual holiday party again this year. The last time, I was in the throws of Last Minute Holiday Panic and ended up bringing a store-bought cake (ugh). This year, I wanted to make up for that by providing something extra special that she and her guests might not ever make for themselves. I solicited the support of my very chefy counterpart, and after some discussion, we agreed on that classic French holiday party favorite: Beef Bourguignon.


Beef, wine, lardon, olive oil, and a bit of brandy - the basis for our dish


Like its chicken sibling, Coq au Vin, Beef Burgundy originated in French Wine country and was popularized in the States by the singular Julia Child. This traditional country stew is designed to give new life to middling cuts of beef. Basically, we are dressing up economical cuts of beef into something really quite special. And, chuck is an economical cut to be sure. Here are some of the things we considered when selecting our chuck:


Choosing Beef:
The Beef should come from the Chuck section of the cow. Meaning the top muscle section that supports the neck and connects to the back of the ribs.


From PressureCookerDiaries.com

In the actual Chuck Eye Roll, there are a combination of different meats, varying in toughness. The Tender top portion is the Chuck eye, and underneath that is a tougher bottom section.  This roast is not usually used for Dry Cooking, but is used for BBQ and stews.


Nicely marbled, corn-fed beef means you could skip larding the beef


We also researched several approaches, including the classic recipe from Julia Child, as well as the very brief entry in Larousse Gastronomique. My counterpart crafted a recipe that seemed to capture the essence of the dish. Here is his recipe with my photos.


All you need for beef burgundy


Ingredients:
8 oz. (generous) Pork Belly
5 lbs Beef Chuck Roast or very thick chuck steak from the Chuck Eye. (“Beef Chuck eye Roll”)
Olive Oil.
White Flour for dusting
6 Cups of Burgundy Wine (1.5 liters)
3 Large (restaurant size) Carrots
2 Leeks
1 Large (restaurant size) Onion
Celeriac Root.
1 ½ Small Pearl Onions
2 lbs. Small  White New Potatoes
Bouquet Garnie, of Bay Leaf, Thyme, Sage, and a little oregano
Salt for seasoning the meat
1 Cup (8oz) Tomato Paste (Goya Latino, Salsa de tomato)
3 sprigs Thyme


Directions:
Cook Pork belly in Olive Oil. To prepare the pork belly, freeze it until it is firm, and then slice it with a sharp knife. Cut it down into small strips and fry it in a heavy pot with a generous pour of olive oil.


Sliced pork belly fat is a good source of lardon

Fry it up until it is crisp

Cube beef and dry. Trim off any fat or gristle using a sharp knife or kitchen shears.


Season with Salt, Pepper, with a little ground Oregano and a little ground sage, then dust with white flour. 


Just dust it, do not bread it


Then, place it in a warm oven at 175 for a few minutes to dry.


A warm oven is a good way to dry meat


Fry in Pan, high heat, until Gratin (Brown Crust) is formed on the outside of the meat. Remove the meat and separate out the pork belly and discard.


Dried beef browned with lardon


Add 1 large onion, and Thyme. Continue to cook in the fat. Deglaze the pan with ½ of a bottle of Burgundy Wine.


Add Carrots, Leek, Celeriac to a Large Stewing pot, with the Bouquet Garni, 


Pour Beef mixture over vegetables in the stewing pot. Add a generous pour of brandy and flame it to burn off the alcohol.


Transfer to a large roasting pan and add the rest of the bottle of burgundy.


Add the entire bottle of wine


Bake for about an hour at 350, then add small potatoes. If you do not see the sauce bubbling, turn up the heat. Bake for 1 more hour, and then add pearl onions. Portion out some of the sauce and thicken it with sugar, a can of tomato paste, and some potato starch. Add the sauce to the pan and bake for 1 further hour. Total bake time is about 3 hours.

Remove from the oven and let it rest for about 10 minutes before serving.


Sunday, November 10, 2013

Sea Urchin Is Not for Everyone

I love food. I really do. I love trying new things and experiencing new flavors and textures. I love finding the limits of my palate and visiting that edge regularly. The first time I try a new food is like a little adventure that I embrace with eyes (and mouth) wide open, both feet forward, ready for whatever it brings.

This is how I found myself on Friday night starting down a piece of sea urchin sushi. I am a seafood fanatic, and sushi is easily my favorite way to eat fish. There's so much flavor and texture and opportunity for that new and amazing experience that I so enjoy. I've pushed the sushi envelop much further than my counterpart, trying it all, from the rubbery octopus to the quite fishy mackerel (which took several tastings for me to embrace raw mackerel, but embrace it I have) to the fairly exotic conch. So, faced with the sushi menu at the Golden Szechuan Inn in Bel Air and not wanting another roll of grilled eel or spicy tuna, or even a California roll, I walked right up to the deep end of the pool and dove in.

I ordered the sea urchin.

After two decades of rabid sushi consumption, I thought I was ready for anything. When Japan House was still in business over by the Aberdeen Clarion, I would regularly sneak in a sushi lunch in the middle of my Saturday errands. I even tried the oshinko, a vegetarian roll consisting of rice wrapped around picked horseradish. And, maybe because I was a regular, the sushi chef asked me if I knew what I was ordering, as if trying to warn me. When I smiled and shrugged and said, "Not really, but I'm game", he smiled back and said "OK". It reminded me of when my cat ate a stinkbug for the first time and proceeded to lick the floor in an effort to get the taste out of his mouth.

Even that did not prepare me for sea urchin.

When it arrived, my counterpart pulled the visor of his cap down low over his eyes and hunched into his usual California roll and salmon and avocado roll. The sea urchin I got looked a bit like an orange human tongue resting on a block of rice wrapped in nori. But I could look past this. What caused me a moment of consternation was that it jiggled. Even though it seemed a bit wobbly, I was still expecting something fairly solid. So, I took a deep breath, dipped it in some wasabi, and popped the whole thing into my mouth.

What happened next was amazing. The sea urchin proved to be as wobbly and semi-solid as it had appeared on the plate with none of the tongue-like meatiness I was expecting. It kind of squished when I bit into it. And, as I chewed, I noticed that it was sticking to my teeth. I thought for a moment that fish should not stick to your teeth.

And then I got the full flavor - musky and bitter and completely unique. And I thought of the oshinko. And once again was reminded of my cat and the stinkbug.

After I swallowed, I took a drink of water. Then I took a drink of tea. Then I ate all the pickled ginger on my plate. Then I took a break. Then I ate my raw mackerel, which tasted quite bland in comparison.

Then my counterpart looked out from under his cap and asked if I had finally crossed a culinary line. Had I perhaps just gone too far this time. I considered the musky, bitter, pungent film that lingered on my molars and in the back of my throat and conceded that, yes, perhaps I had.

Then I posted a photo on Instagram and one of my friends recommended Johnny's Sushi across the river in Perryville, where I could probably do a bit better. Will I try it? But of course!


Sunday, June 9, 2013

A Primer on Fiddlehead Ferms

Since I first learned they are edible, I have long been fascinated with fiddlehead ferns. We find them at the Wegman's quite often, but usually in a dreadful state, and my counterpart has been reluctant to deal with them. Then, while he was visiting the Pittsburgh office of his employer, he posted a photo of his dinner one night that included fiddlehead ferns. I stepped up my campaign, and last night I got them.

Ferns are an interesting plant. While the young shoots are edible, as the plant continues to grown, the fern becomes toxic to humans. They must be harvested when they are still in that coiled, fiddlehead shape. While dirt is not a problem with this vegetable, storage is. We have seen many ferns on display that are already on their way to rot and ruin. When selecting fiddleheads at the grocery store, look for a nice healthy green color, and avoid anything that looks black. If you see a lot of black in the selection, best to put off your fern experience, or ask the produce manager to check the back for some fresher specimens.

Fiddleheads are easy to clean as long as they are fresh and healthy


In application, fiddleheads can be used the way you would use asparagus. They are similar in taste, but their round, coiled shape gives then a distinct mouth feel that I find preferable to asparagus. They are also more bitter, but this can be cut with butter and cream in the cooking process.

Paired with mushrooms in a succulent little medley
For our fiddleheads, my counterpart made a medley of the ferns with mushrooms, shallot, leek, and garlic with some fresh basil and oregano, and just a little sage. Using these bitter elements to season an already bitter vegetable accented its natural flavor when other elements were added to mellow it out.


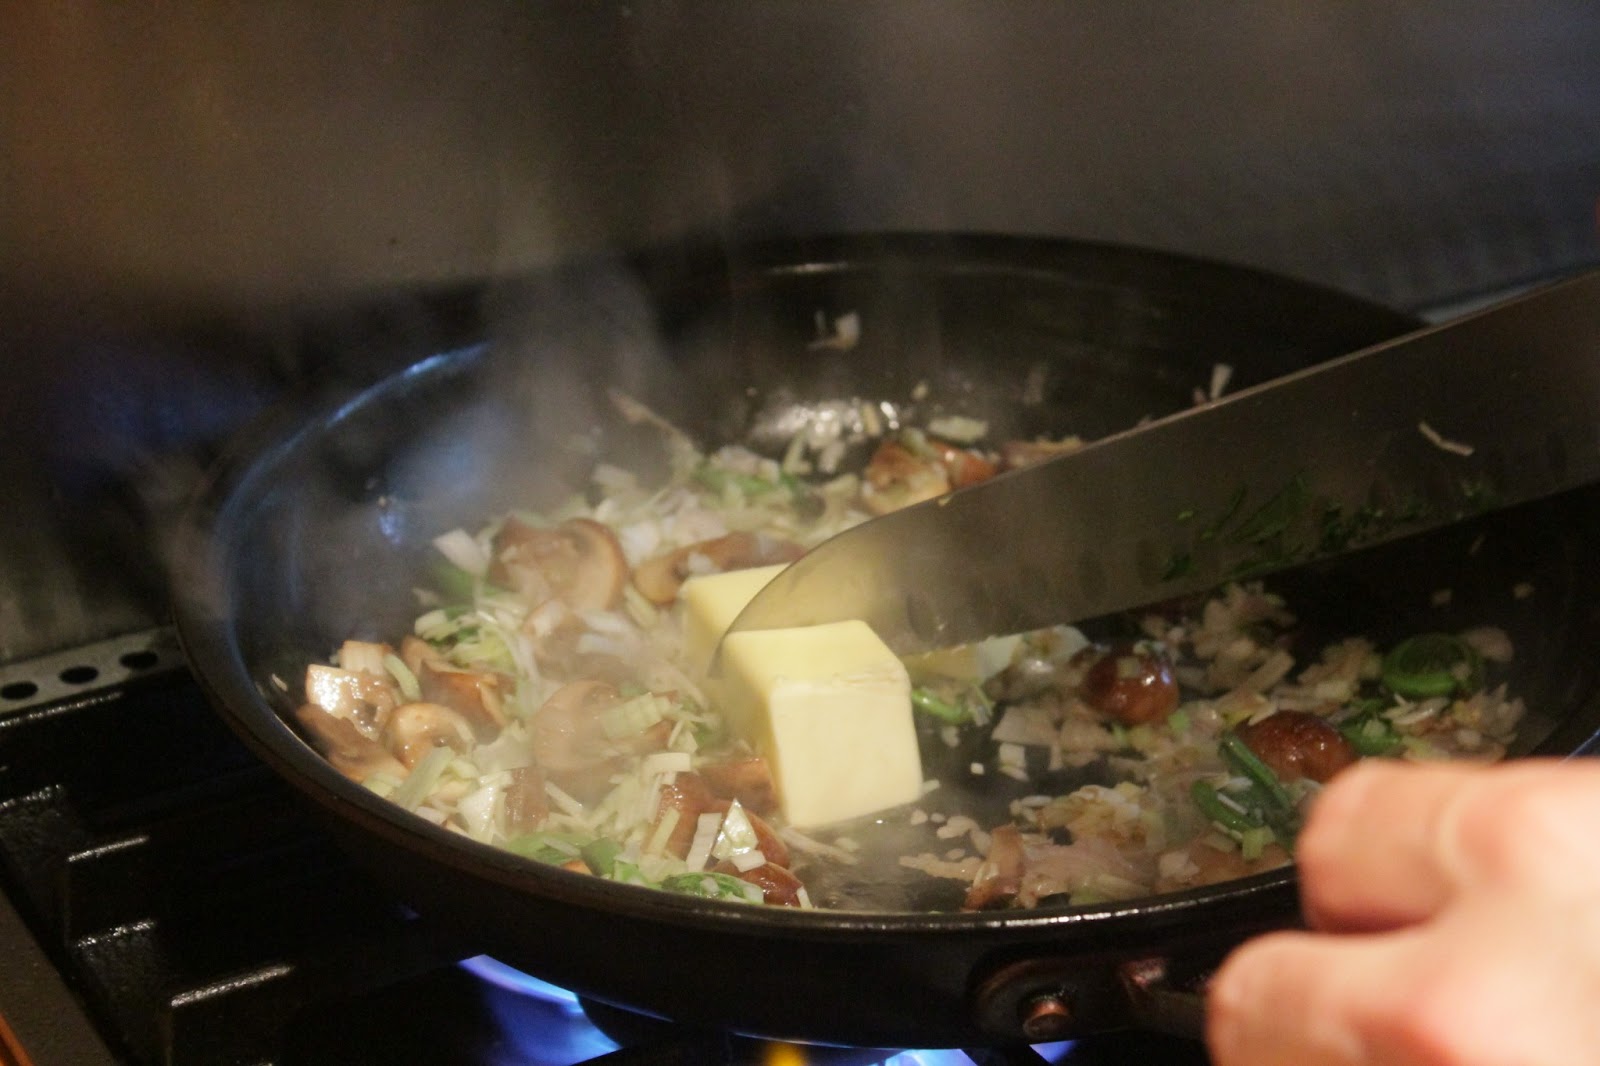
Mmmmmmmm butter

He cooked them on the stovetop, using a little wine, a little cream, and a lot of butter. The end result was tender mushrooms, crisp fiddleheads, and lots of buttery goodness. Served with bread alongside to absorb some of that fat, this dish was so flavorful, I had three servings.


I single-handedly finished off most of this

Saturday, August 4, 2012

Mary Cooks: Penuche

Fudge recipes are written by optimists. The typical fudge recipe is deceptively simple. I am going to write the truth about fudge.

First, some context. I had the day to myself, and a lengthy to-do list. Out of all the highly productive things I could have done, why did I decide to make fudge? This week, I wrapped up a particularly lengthy and frustrating project, one of those projects that lingers in the stabilization phase as more and more issues with the software are discovered and need to be addressed until finally there is no more money, and the project is declared complete. It was a long, rough ride for the team and I wanted to make a special treat for them. I decided on fudge as it is phonetically very close to an oath that was uttered so often during the project that many of us forgot it was a cuss word.

In my search for a fudge recipe, I came across a treat from my childhood - brown sugar fudge, also called penuche. One of the ironies of my mother is that despite what she served for dinner, she was capable of incredible desserts. Penuche was one of them. So when I found the penuche recipe in the Gourmet cookbook, I had to try it.

Mis en place


For Penuche, you will need:

1/2 cup plus 2 tbsp evaporated milk
2 cups packed light brown sugar
1 1/2 sticks butter, cut into tbsp
1/4 tsp salt
1/2 tsp vanilla extract
1 3/4 confectioners sugar

Simple enough, right? Keep in mind that fudge is actually a candy, and candy is an art that must be practiced. If you are a regular candy maker, you will not have any trouble with this. If you are out of practice, though, or a beginner, proceed with caution and understand that you will spend a lot of time stirring and waiting.

OK, so combine the milk, brown sugar, butter, and salt in a 3-quart heavy saucepan and bring just to a boil over moderate heat, stirring until the sugar is dissolved. From these instructions, I wasn't sure if I should have a liquid like a caramel sauce or what. I actually had something thicker than a liquid but not quite a solid. I also thought I would know when the sugar had dissolved. In retrospect, I did not.

I let the mixture come to a boil and then reduced it to low heat to simmer as the recipe instructed. In less than a minute, it no longer looked like my mixture was simmering, so I brought it up to a boil again. I did this several times over the next ten minutes until I felt I had everything at the right temperature.

Is my sugar dissolved now?


Is it dissolved now?


So, back to the recipe. Reduce heat to low and simmer, stirring frequently, until mixture registers 238 F on a thermometer and a teaspoon of the mixture dropped into a small bowl of cold water holds a soft ball when pressed between your fingers. This will take about 30 minutes.

The best part of this recipe is the reference to the old school method of checking on your sugar mixture. When you are cooking this stuff, it will hit 180-200 fairly quickly, and then will hover around 200 for so long you will feel as if your candy thermometer is broken. The old fashioned soft ball test will let you keep track of how far along you actually are. Then, after about 20 minutes at just over 200, the sugar mixture will change rapidly. I noticed a burnt sugar smell that I found disconcerting. But the temperature was rising and quickly reached 238. I did the soft ball test just to be sure.

Get comfortable - you're going to be here for a while


Still not sure if that burnt sugar action is right, but we are at temperature


Transfer mixture to a heatproof bowl. I used a large Pyrex measuring cup. Beat in the vanilla with an electric mixer at medium speed. Which was also disconcerting. When I added the vanilla to my 238 degree soft ball mixture, it bubbled, boiled, and seemed to evaporate. Undeterred, I proceeded with my hand blender and began adding the confectioner's sugar, a little at a time, as the recipe instructed.


Not fudge


Now the recipe says that in about five minutes, the whole thing will be thick and smooth. After five minutes, my fudge resembled course gruel. But if I've learned anything from my counterpart, it's that there are few things in the kitchen that cannot be salvaged with a little heavy cream, egg yolk, or both. I reached for the heavy cream and added a generous dollop to my mixture. A few minutes later I had a smooth mixture, albeit a bit grainy. And that is the sign of fudge failure. If you get to this point and still have graininess, you do not have fudge.

Heavy cream to the rescue


I divided my mixture evenly between two small pans - the intent was one for my team and one for Gareth's - and placed the pans uncovered in the refrigerator to set. While today's efforts are not fit to share with the team, I think we can work this into our ice cream activities.

Looks can be deceiving - a pan of grainy fudge is not worth sharing

Wednesday, June 6, 2012

How to Make Bouillabaisse Out of Common Household Items

Bouillabaisse is the quintessential fish dish. Originating in France, it has an air of sophisticated gourmet. It is a complex collection of flavors and exotic seafood that generally takes the better part of an afternoon to pull together. That is, if you can find all the ingredients.

Garlic and onion


Well, you actually can. And, in the grocery section of the Wal-Mart. The defining flavors of bouillabaisse are citrus, cardamom, and coriander. (Note the absence of saffron. Despite the unmistakable flavors of sunshine and happiness this best loved seasoning brings to anything it is added to, I have been told by those who know more than I that saffron is not a defining flavor of bouillabaisse.) 


As for the fish, you really need an oily fish, a firm fish, and a couple of varieties of shellfish. Add some tomato, some veg, and some olive oil, and you've got it.

To make bouillabaisse out of common household items, you will need:

2 lemons, juiced and zested
1 orange, juiced and zested
2 cloves garlic, pressed
Half a white onion, sliced into strips
1 leek, minced
2 red peppers, slices into strips
1 medium zucchini, sliced
The liquid from one can of stewed tomatoes
2 tuna steaks
2 trout or salmon steaks
1 small bag of medium shrimp
1 small bag of medium scallops
Half a bunch of parsley, stemmed

Cardamom
Coriander
Cinnamon
Nutmeg
Salt

Most of us purchase most of these items regularly. What you don't have on hand, you can find fairly easily.

Here is the veg you will need for this dish


Prep your veg first. This will take the longest. Depending on your tools and how much assistance you have, this will take 30-60 minutes. We worked together and have a mandolin, a micro-planer, a citrus juicer, and a good set of knives. Our prep time was 30 minutes and entailed juicing and zesting the citrus, slicing the peppers, onion, and zucchini, pressing the garlic, and stemming the parsley.

Ahhh, the mandolin


Zest from the micro-planer


The cooking can actually be done in about 30-45 minutes, and you can still get that complex, layered flavor. The trick is to cook everything in the right order, and to cook the right things together. So, with veg prepped, preheat a generous amount of olive oil in a stock pot and a large frying pan. While they are heating up, season your fish with the zest and spices, going light on the cinnamon and nutmeg.

Seasoned fish steaks


Seasoned shellfish


Cook the shrimp and scallops together in the stock pot until the scallops are nearly done.

This is the base


Transfer the scallops to the frying pan to sear and add butter to the shrimp.

Scallops are better seared


Once both shrimp and scallops have cooked, transfer them to a platter to rest.


We'll come back to these in a bit


Add the onions and leek to the stock pot, where they will pick up some of the flavor form the shellfish.

Layering on onions and leek


At the same time, add the red pepper, garlic, and about a third of the tomato liquid to the frying pan. Use a deglazing motion to remove any scallop bits from the pan.

Preparing a layer of peppers and tomato


When the peppers are tender and the pan is deglazed, add this to the stock pot.


Add a light oil like grapeseed to the pan. Once it has heated, add the fish steaks to cook.

Fish steaks are the next layer


While the fish is cooking, gradually add a couple of splashes of the citrus juice and more of the tomato liquid to the stock pot. When the fish is nearly cooked, add it to the stock pot, along with the cooked shellfish.

Use a little brandy or cognac to deglaze the frying pan, adding this to the stock pot once the alcohol has cooked out.


A little brandy adds to the complexity


Finally, saute the zucchini in a little light oil and add to the stock pot. Let everything simmer together for about 5 or 10 minutes. Transfer to a large platter.

To the table


Serve in shallow bowls with bread. Portion out some of the broth into small bowls on the side to dip your bread in.

On the plate

Sunday, February 12, 2012

Nothing Says Love Like Pate

My faith strives to achieve a certain balance with nature. We cultivate a high regard for life, so when we take a life - whether plant or animal - it is imperative that we do not let anything go to waste as this shows a lack of respect for the life that was taken. My counterpart goes along with this, and as a result, I regularly get home made pate.

Pate is one of those fancy dishes that is actually easier to make than most people realize. It its simplest form, it is liver, flour, brandy, cream, fat, and seasoning. In keeping with the respectful aspects of my faith, my counterpart has expanded upon this basic theme, and now he uses a wide variety of giblets as the base, including turkey, rabbit, chicken, and anything else we have eaten recently. His choices for fat have included butter, bacon, duck grease, chicken fat skimmed off the stock pot, and rendered pig fat. He favors red onion and shallots and garlic along with salt and pepper for the seasoning.

It is also important to note that proper equipment is necessary for making pate. The main objective is to mix everything together into a paste, including the giblets. There will be casualties. Over the years, we've burnt out four immersion blenders and three food processors, and I think an ice blender in making pate. We are now on the mighty Cuisinart Smart Stick, and so far it is holding up.

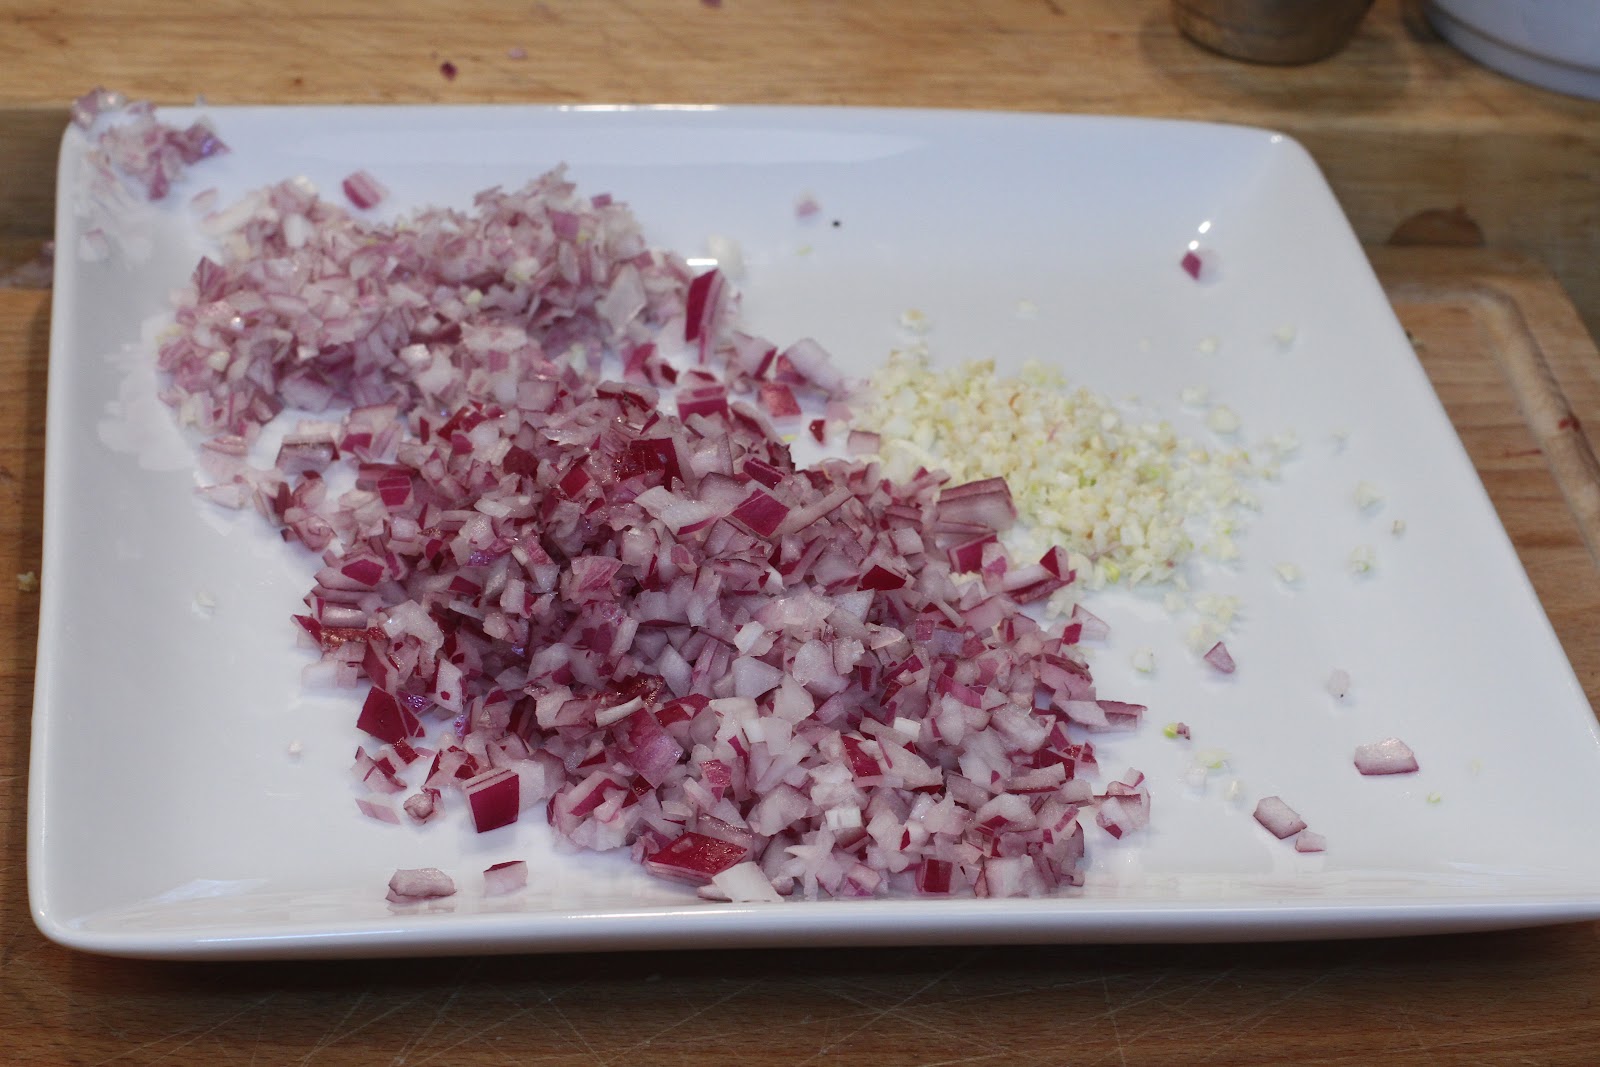
First, you want to prep your veg - in this case, red onion, shallot, and garlic.

Shallot

Garlic

Red Onion

Prepped and Ready


Then, prep the giblets. To preserve the life of your kitchen gear, cut down the giblets into smaller pieces, and puree them in batches, transferring the puree to a larger container as you work.


Cut the giblets into small pieces

Puree them in small batches


And don't forget about the cat


The mighty Cuisinart Smart Stick


Add the remaining ingredients, paying close attention as you go. Pate is one of those things that is made by sight and smell, not by taste. Once you add the cognac, things will start to smell pretty good.


Heavy cream added before moving to a larger container


Separate the eggs as you will only need the yolk

Once things are transferred to the larger container, my counterpart switched to the immersion blender to mix the remaining ingredients. Use the blender to mix in each of the ingredients as you add them.


Mmmmmmmm cognac

Butter is our fat for today

Add a little salt

Add a little cake flour

Add a little olive oil

Add the veg


This is the right consistency

Pyrex or Corning Ware are excellent choices for baking pate. Line them with fat and bacon to help the pate release from the pan with it is done baking. We used butter and pancetta.


Lining the Pyrex

Pour the pate into the pan and bake at 350 until cooked through.


Mini-pate


To release the pate from the pan, place a plate over the top and flip it over. Set it down and let gravity work for you.


The pate is releaseing

Carefully remove the pan, shaking it gently to help the pate release. Serve with brie, chopped hard-boiled eggs, capers, and a baguette or water crackers.

Pate is served