
My counterpart started with the basic vanilla ice cream recipe that came with the Kitchen Aid ice cream attachment but soon noticed several flaws. Declaring it a product of the Marketing Department, he quickly improvised his own.
 |
| The original |
 |
| The finished product |
For a Very Chefy ice cream, you will need:
1 cup water
1 cup castor sugar
8 egg yolks
4 cups heavy whipping cream
1/2 tsp salt
1 tbsp vanilla
Seeds from 2 vanilla pods
 |
| Mis en place |
Our ice cream started with a simple syrup of castor sugar, water, and vanilla. Castor sugar is really just regular sugar run through a coffee grinder to create a super fine sugar. It dissolves quickly into the syrup and prevents any chance of graininess in the finished product.
 |
| Making castor sugar |
 |
| Seeds from two vanilla pods |
 |
| Simple syrup |
Once the syrup is finished cooking, transfer it to a heavy glass container and gradually add in half a cup of cream and egg yolks. Here's how to separate your eggs:
 |
| Break all the eggs into one bowl |
 |
| Using very clean hands, gently worry the yolk form the white |
 |
| Drop the yolks into a separate bowl |
The heat of the simple syrup will ensure that the egg yolk cooks. Use an immersion blender to mix everything together. This will prevent the yolk from curdling and will homogenize the mix. Gradually add the rest of the cream and blend until smooth.
 |
| Adding the egg yolks |
 |
| Adding the cream |
This method is preferable to the method in the recipe as it gradually brings the mixture down to room temperature. The original recipe called for moving the mixture from the stovetop to the freezer in a covered container. This is a risky move that can create the perfect environment for botulism bacteria. We also felt that by cooling the mixture before freezing, we would cut down the initial curing time. The recipe called for 8 hours. Our ice cream cured in 90 minutes.
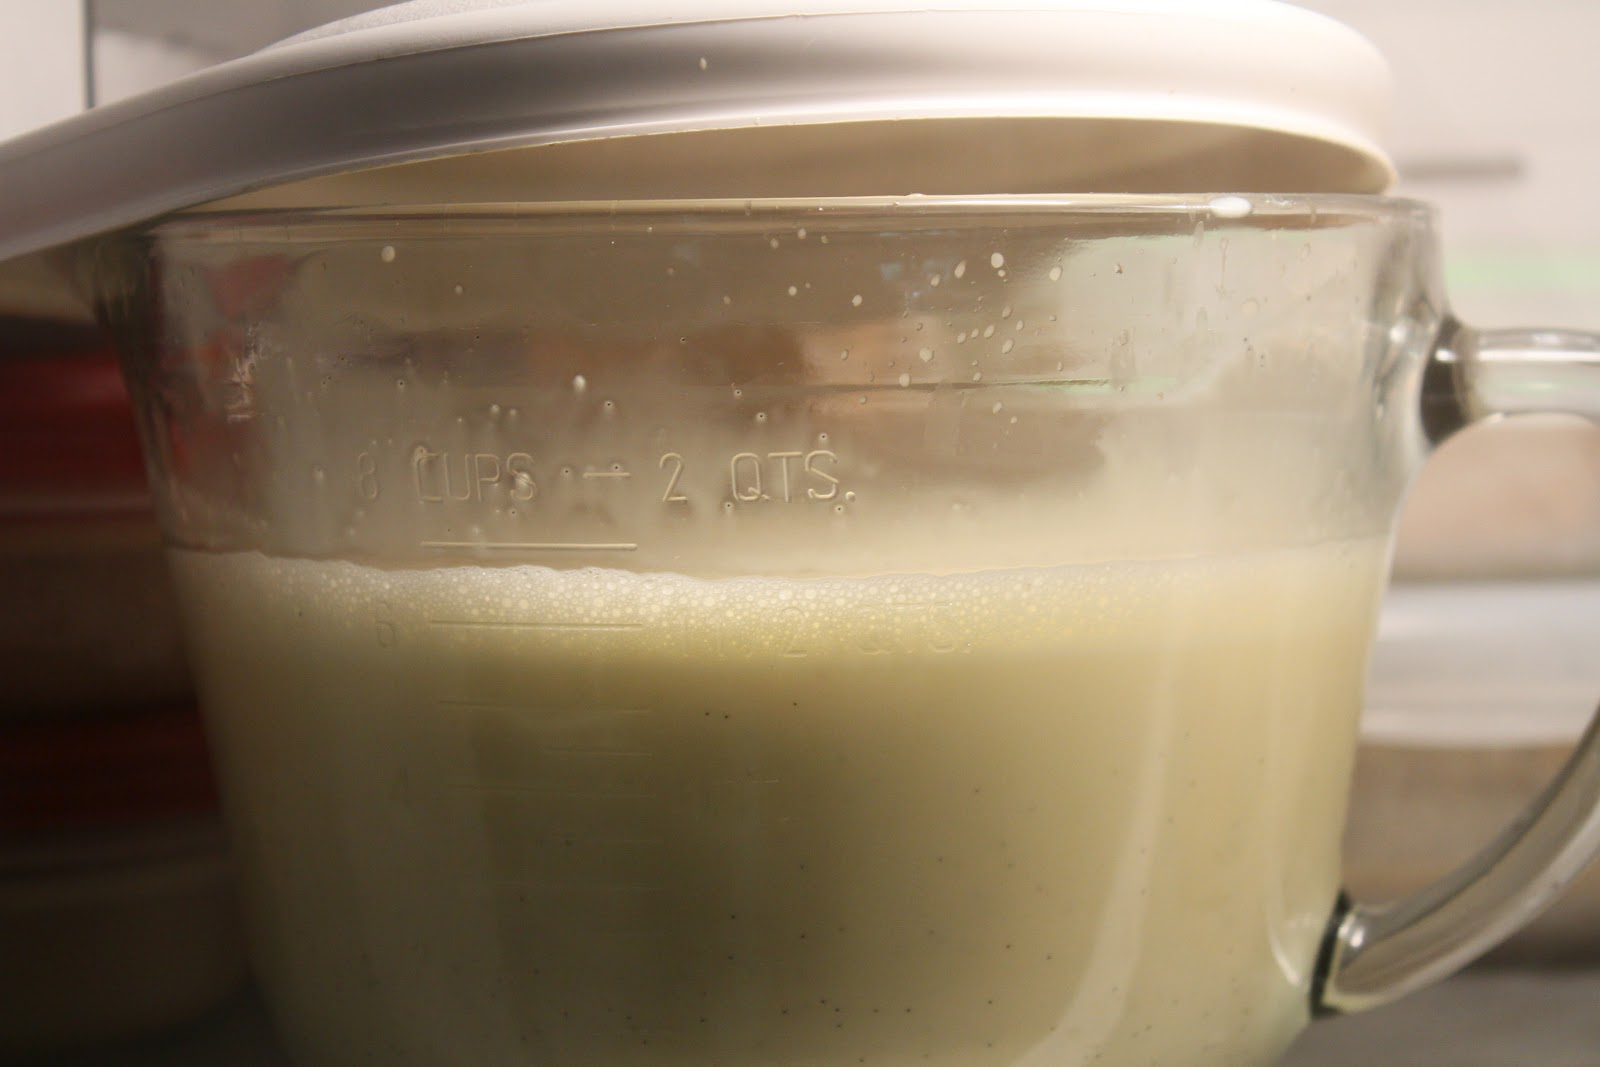 |
| The first set |
Then began the churn. We did follow the instructions and allowed the ice cream mixing bowl to freeze for at least 24 hours. This is important as the churn will take some time. The ice cream bowl is really just a very thick insulated bowl that keeps everything cold while you churn.
 |
| The longest 40 minutes of my life |
According to the recipe, the churn should take about 20 minute, and you end up with ready-to-eat ice cream. Our churn took about 40 minutes and we ended up with a milkshake.
Undeterred, the mixture was transferred back to our heavy glass container and went back in the freezer for a second curing. Four hours later, we had ice cream.
 |
| After the second cure |
But not just ice cream. We also had a home made caramel sauce.
This is a work of genius. This sauce is buttery, sweet, salty, and boozy all at the same time. for this sauce, you need:
Butter
A splash of grape seed oil
Sugar
Brandy, although we started with Benedictine - they are not interchangeable
Salt
Vanilla bean
Heavy cream
Melt the butter, sugar, and grape seed oil on the stovetop.
 |
| Adding castor sugar to butter and grape seed oil |
When it reaches a boil, add the brandy and let it simmer long enough to cook the alcohol out.
 |
| A little brandy goes a long way |
Then, add the salt, vanilla bean, and cream and let boil a few minutes longer.
 |
| Salty caramel is good |
 |
| Add the cream last |
Transfer to a glass container and blend with the immersion blender.
 |
| Everything should be homogenized |
Drizzle over ice cream.

At the end of the day - and I do mean at the end - I'm not sure we saved much time, but I am sure we ended up with a superior ice cream than that recipe would have produced.
 |
| At the end of the weekend, this is what we have to show for ourselves |
Sure we saved about 6 hours. It would have been next day ice cream. I added the cream to the hot syrup mixture to slightly cool it, then added the egg yolks to cook the yolks, then included the rest.
ReplyDelete