Saturday, December 31, 2011

New Year's Eve Dinner

Rabbit is dicey. It's the only animal I know of that you find in both the pet store and the butcher shop. (For the record, I get mine at the latter.) With the exception of the fourth grade during which time my BFF was a girl in my class who had pet rabbits, they've always been firmly in the food category for me, similar to deer. They are beautiful creatures, but they are also tasty creatures.

I realize this is offensive to many people. I am often asked if I would eat cat. I wouldn't eat a pet cat any more than I would eat a pet rabbit. If Wegman's ever features farm-raised feline cleaned and dressed I might feel differently about the whole rabbit issue, but for now I think it's outside consideration.

Before proceeding, please be advised that this posting does contain photos of my counterpart preparing rabbit.

For New Year's Eve dinner, we stayed indoors and had a fine dinner at home with the cats.

Both Escoffier and LaRousse recommend the following basic method for preparing rabbit. This is a classic recipe and fairly straightforward. And remember to save those giblets as they make a very nice pate.


Season the rabbit with salt, pepper and rosemary. If you have fresh rosemary, a couple of sprigs inside the carcass are very nice.


Then truss it up with kitchen twine.


Rabbits are notoriously free of fat, so much so that a diet that relies on rabbit for protein can lead to a form of malnutrition known as mal de caribou. So we braise the rabbit in fat like butter or olive oil. This is generally a good cooking technique as it helps the meat retain moisture while cooking.


Once the skin is browned, drain the fat and place the rabbit on a wire rack and roast in a heavy pot until nearly cooked through. Close to the end of roasting, you'll place the rabbit (rack and all) into a new pot.


Use some white wine to deglace the previous pot and set aside for your sauce.


While the rabbit is roasting, prep your veg. For this classic rabbit preparation, you'll want leek, carrot, onion, peas and other winter vegetables. Cut them to a uniform size and shape. My counterpart is partial to the Julienne cut pictured. They cook quickly and are easy to eat.


He simmered the leek and onion in white wine  and then added these to lightly sauteed carrots with the peas going in last.


Finally, the wine sauce starts with a roux of goat butter and cake flour. Add a little heavy cream, the rabbit glace and maybe some chicken stock if the sauce is too thick.  Have the immersion blender close at hand to smooth things out.


Serve family style on a large platter with the sauce on the side.


More classic techniques for preparing rabbit can be found in The Escoffier Cookbook and Le Gastronomique. For additional photos of this fine culinary experience in all its stages, visit my Picasa gallery.

Friday, December 30, 2011

Holiday Traditions: How Fried Oysters Came to Appalachia

Since moving to the Mid-Atlantic region, I have often wondered why folks from West Virginia eat oysters this time of year, oysters not being native to the Appalachian Mountains. A former Baltimorean back home in West Virginia provides the history of this tradition, as well as her own personal family history. Her family served them at Christmas, but I've also met folks who included them with Thanksgiving and New year's dinner. It's so well-written that I'm just going to copy it verbatim from the email she sent me.


When I was a child growing up in the hills of West Virginia, we always headed up the hill to my Grandma's house for Christmas dinner. Along with the baked ham, cranberry sauce, and homegrown mashed potatoes and green beans was an unexpected dish in a green plaid ceramic bowl: fried oysters. It was a small bowl as only my father and grandmother ate them (my mother hated them and wouldn't let my brother or me try them), but it was always there, with the golden brown fried oysters. Grandma was not a seafood buff; indeed, the fried oysters were the only seafood that I ever saw her eat. But every Christmas, she ate the fried oysters. 


Years later, my best friend (who grew up in the mountains two counties over) and I were in college, preparing for the holiday break and discussing traditions when she mentioned the oyster stuffing for her turkey. "Hey, we had oysters too. I always thought that was odd." "Oh, it's an old mountain tradition to have oysters at Christmas." And then she told me the story.


Way back when the hills were being settled, our ancestors were mostly subsistence farmers, but there were certain goods, like sugar and coffee, that could not be grown and needed "cash money" to acquire. So every year, one man from the area was chosen to take cash crops to Baltimore, MD, to the market. This man would leave after the first frost and walk to Baltimore. He would leave after the crops were in (and probably after the hog slaughter, held after the first hard frost to preserve the meat), and the neighbors would help his family with the stock and any necessary maintenance on the farm. He would leave about the first of November, walk to Baltimore, do the trading for the community, and head back on the trek over the mountains. In those days, it was preferable to travel in the winter, as the frozen dirt roads were easier to navigate than the mud of spring and fall. Plus, the cold kept the oysters from spoiling. 


Yes, oysters. When the traveler arrived home, around Christmas, he brought the staples that he had traded for along with oysters for Christmas dinner. Thus began the mountain tradition of oysters at Christmas. 


I make these every year at my parents' house (much to my mother's dismay, as she has a prejudice against oysters and doesn't even want them in the refrigerator with her other food). And the first year I lived in Baltimore, I stopped by the Broadway Market to get some fresh-shucked oysters to give to my best friend. 


Oysters, either fresh-shucked or jarred
Flour
milk
eggs
salt
pepper (I sometimes substitute Old Bay seasoning for the salt and pepper)
White corn meal
Oil for frying (traditionally this would have been rendered bacon grease; I use vegetable oil)
(All measurements are approximate...no measuring cups needed. Also, you will be refreshing these as necessary.)


Mix about 1 cup flour in a small bowl with salt and pepper. 
In a separate small bowl, mix a ratio of 1 egg to about 1/2 cup of milk. This is the egg wash. 
In a separate small bowl, pour about a cup of corn meal. 


Heat about 1/2 inch of oil in a large deep frying pan or deep fryer. One at a time, dredge oysters in the flour mixture. Dip in the egg wash. Then, coat with the cornmeal. Set aside, and repeat with remaining oysters. When any of the stations run out, refresh with additional flour mixture, egg wash, and cornmeal as needed. 


When oil is hot (i.e., when sprinkled water jumps back out), add the prepared oysters. Cook for about 2-3 minutes per side till golden brown. Drain on paper towels. 


Once you get started, you'll have a regular assembly line going, and you'll find that you are able to prepare the next batch for frying as the first batch is cooking. If the oil overheats and begins smoking, remove from heat for a few minutes and repeat.


If you have a favorite recipe that you would like to share, please email me at MarysFoodJournal@gmail.com and let me know how you would like to be identified (ie "a reader in Ellicott City" vs your actual name). Include any traditions or memories associated with the dish if you like.

Wednesday, December 28, 2011

A Note about Kitchen Organization

This week I took a break from holiday cooking to evaluate the food storage situation in my kitchen. Several weeks of serious food prep (cookies, candies, something for the holiday potluck, plus at least one holiday dinner) will really make all the shortcomings of the kitchen obvious. This is actually a pretty good time of the year for cleaning and reogranizing, and a few years ago I declared the day after Christmas to be Annual Kitchen Reorganization Day.

So, once the fridge had been configured so that all the leftovers fit, I inevitably turned my attention to the pantry.

This is an advanced feat of engineering


I've got a really cool built-in pantry that used to be just a plain old closet. When we remodeled our kitchen, we had some very nice custom-made shelving installed and converted it into food storage. And, like every food storage area, it has its own unique issues that need to be dealt with. The key to an effective pantry is to understand the space you have and then create the solution that makes the best use of the space.

In my case, I've got the aforementioned shelving, but I've also got the circuit breaker box that needs to be accessible. This means there is a very large gap between the top shelf and the next shelf down that needs to be filled with supplemental shelving.

I also have an old house that has settled in a manner that there is a wobble in my kitchen. This means that even though the shelving is perfectly square to the walls in the closet, the closet itself is no longer square to the earth, and everything is just a little off kilter.

So, here was my first attempt to address these two issues when I did this last year:

A partial solution at best

While I gained a little additional storage space with this solution, there's still a lot of chaos and clutter, and we never knew exactly what our inventory of dried beans or rice actually was, so we frequently bought more. Plus the stacked shelves look a bit like the Leaning Tower of Pantry. Did they fall over? No. Did things fall off them regularly? Yes.

Also, look at the storage containers for those dried goods. Clusterfuck does not even begin to describe it. The key to effective storage of dried goods is twofold:
  1. A tightly-fitting lid that includes a rubber ring insert. This creates a tight seal that is impenetrable by pests and will preserve your flour and other dried goods better than the containers pictured.
  2. A modular solution. Square is a good shape. Square things will fit together nicely and will stay upright even when shifted around.
So take a look at the container on the far left. That's the solution I finally admitted was the only viable choice. I discarded the other containers as their contents had indeed been violated and replaced them with a set of SnapWare that I bought at Target. I like this stuff for several reasons in addition to the shape. These canisters are clear so you can see what's in them. Plus they have the requisite rubber ring in the lid. And they also have a flip top build into the lid for easy access to what's inside (also with a rubber ring built in). My set also came with three measuring cups as an added bonus. I used masking tape and a Sharpie to label them (potato starch and powdered sugar really do look a lot alike).

I also replaced the stacked shelving and repurposed it. See, the issue in my pantry really is how to fill that big gap and still have access to the circuit breaker. My solution was to break up that big open space into smaller sectors. I replaced the tower of stacked shelves with hanging shelves that attach to the built-in shelf to make better use of the sector to the right of the circuit box. I then spread out the stacked shelving to better fill the rest of the space. I found these hanging shelves at Wegmans for a pittance:

The right solution = optimal use of space
So, obviously, I threw away a lot of stuff. If you perform this exercise regularly, anything that didn't get purged the last round should definitely go this time. Tell tale signs that your food is no longer viable are:

  • Expansion of canned or jarred goods - jars will typically have a lid that looks like it's popping out while cans will look like they are about to explode
  • Dust around boxed or bagged goods - this is a sure sign of infestation and foreign intrusion into your food.
  • Expiration dates in the past - if in doubt, check the packaging. Even canned goods have a use by date.
Anything not in a can or jar should be placed in a ZipLoc bag until opened and then transferred to a canister (long-term storage) or RubberMaid container (short-term storage).

I think I've got something workable going in this part of the kitchen. And that's important. Proper food storage means fresher raw ingredients and meals that taste better and have more nutrition, not to mention less waste.


Every pantry really is unique. Look at your space. Measure it. Draw pictures of it. Visualize how it could be. Then go make it happen.

Saturday, December 24, 2011

New Facebook Page

Mary's Food journal began in 2009 as a Facebook group for me and my counterpart to share food and plan events with our friends. From there, it grew into this blog, and the old group was abandoned. The group was officially retired this morning, and a new fan page for Mary's Food Journal is up. The page will contain posts from this blog, as well as photos of good food and comments from friends, fans and followers. Take a look and let me know what you think.

The original image from the Mary's Food Journal Facebook group

Friday, December 23, 2011

Know What You're Eating: Stevia

I admit, the catchy tune had something to do with it - those commercials for "all natural" stevia sweeteners featuring frustrated women and a jingle many of us can relate to. And I was pretty happy. I've often wondered why there are some many artificial sweeteners out there (especially in supposedly health items - Airborne anyone?) when there's stevia. Then I read the label. Here are two popular stevia products and what they contain:

TRUVIA

Truvia, you are no true love

The first ingredient in Truvia is erythritol, a man-made sugar alcohol. It also contains natural flavors. Natural flavors of what? While stevia is indeed all-natural, Truvia is not. So much for "honestly sweet".


I expected better from In The Raw


The same folks who helped make raw sugar so ubiquitous you can even find it at the Walmart have also doctored up their stevia product. Note the first ingredient is dextrose, which is another name for glucose. This is important for diabetics turning to stevia products. While the Truvia is clearly labels "suitable for diabetics", Stevia in the Raw is not. Further proof that you must-must-must read those labels.

So why add sugar and other sweeteners to something that is naturally sweet? You got me. Hopefully these less-than-truthful products are the starting point for greater availability of stevia and we will start to see real stevia in our grocery stores. Until then, if you're interested in using stevia, looks like you'll still have to visit the health food store or food co-op for the real thing.

Sunday, December 18, 2011

Holiday Baking: Triple Ginger Cookies

I'm an absolute sucker for those Holiday Cookie mini-magazines in the check out line at the grocery store. Even thought most of the recipes are absolute crap and always start with a box of cake mixed or a tube of pre-made cookie dough, I keep buying them because every one I have ever purchased has contained that single gem of a recipe that becomes a Yule favorite. Last year's Holiday Cookies mini-mag put out by PIL Cookbooks contained this recipe. It's all from scratch and is similar to the triple-ginger cookies at Trader Joe's. Except you make them in your own kitchen. Whenever you want.

You will need:
2 cups flour
2 tsp baking soda
1 tsp ground ginger
1/2 tsp salt
3/4 cup butter (this is 1 1/2 sticks)
1 cup sugar
1/4 cup molasses
1 egg
1 tbsp grated fresh ginger
1 tbsp finely minced candied ginger - I use semi-soft sugar-coated cubes from Whole Foods

Preheat the oven to 375 and line your cookie sheets with parchment paper.

Sift together the flour, baking soda, ground ginger and salt and set aside.

Melt the butter. When it has cooled slightly. Mix in the sugar, molasses and egg. (I wish I had some helpful hints on working with molasses without it getting all over the place. Unfortunately I do not. If you are pouring it into your measuring cup, it's sometimes difficult to get it moving, but then equally difficult to get it to stop once you have enough. Do your best and have paper towels nearby.)

Add the flour mixture and mix well. Then add the fresh and candied ginger and mix until combined. Chill in a Tupperware container for about an hour.

Use a portion control scoop to make dough balls. Roll them in some coarse sugar, or drop them onto the cookie sheet and sprinkle the sugar on them. Once they are on the cookie sheet, flatten them a little. Bake for about 10 minutes or until the edges just start to brown. For crisper cookies, bake for about 2 minutes longer.

Candied ginger, minced

Fresh ginger, grated


Ginger cookies

If you have a favorite recipe that you would like to share, please email me at MarysFoodJournal@gmail.com and let me know how you would like to be identified (ie "a reader in Ellicott City" vs your actual name). Include any traditions or memories associated with the dish if you like.

Holiday Baking: Blonde Fruitcake

There's one in every crowd - a holiday traditionalist who loves and looks forward to fruitcake. This has always mystified me as every fruitcake I have ever had has been heavy and chaotic and boozy and not very well thought out. I'm sure at one time someone came up with a very nice recipe that called for a rich cake full of fruit and nuts but over the years it has evolved into what can only be described as a culinary clusterfuck of the highest magnitude. It takes some genuine skill to pull off a confection of candied fruit and hard liquor and quite honestly for most of us at-home bakers it's pretty far out of reach, especially if you only bake in December.

Then a few years ago, I chose Tradition as the theme for my annual holiday baking and decided to try my hand at this most maligned of traditional holiday fare. I found the following recipe on the epicurious website and got it right on the first try. It's been a regular feature of my holiday cookie tins ever since. There are a couple of reasons why this works:

1. No candied fruit. It calls for dried fruit, and only a couple of varieties.
2. No booze. Although the recipe calls for it, I omit it. Sometimes you gotta stay in your own weight class, and boozy desserts are strictly heavy-weight material.
3. Scale back on the fruit and nuts so it's not so much potpourri but actual cake.

You will need:
a bag of dried cherries, minced
a bag of dried apricots, minced
1/2 cup slivered almonds
1 cup golden raisins - I leave these out, mostly out of a personal bias against them

There's some debate about whether or not to simmer the dried fruit before adding it to baked goods. I say yes, simmer it, it will bake better. The debate in my house was when to simmer - before or after you mince. I always do it before, which usually leads to some difficulty when it comes time to mince. My counterpart stepped in today and provided proper technique - use the Sudoku knife, cut at a nice angle (photos below) - and also suggested that I mince first and then simmer.

Dried fruit simmered with whole cloves


Line up the large fruit on your board

Slice the large fruit

 
Then mince


However you do it, once the fruit is minced and cooled, toss it with the almonds and 1/2 cup flour to coat.


Fruit coated with flour

Sift together and set aside:
1 tbsp baking powder
1 tsp salt
1 1/2 cup flour

Beat together until smooth and fluffy:
1/2 cup butter, room temperature (this is 1 stick)
3/4 cup packed light brown sugar
1/2 cup sugar

Then mix in:
6 eggs, one at a time
3 tbsp amber rum - I use rum extract or almond extract
3 tbsp pure maple syrup (not pancake syrup)
1 tbsp vanilla

Add the flour mixture and blend until combined. If you're using an electric mixer, remove the bowl from the mixer stand. Fold in the dried fruit mixture.


This is what the batter should look like

Preheat the oven to 325 and grease your pan. You can use a 10-inch angel food or bundt cake pan, two 8-inch loaf pans, or 5 mini-loaf pans. I've got several people on my cookie list, so I used mini-loaf pans. Just like we did for our lemon tea bread, use a small soup ladle to spoon the batter into whatever pan you're using. Bake for about 90 minutes. If you are making mini-loafs, cut the time in half and keep an eye on things after the first 30 minutes.

Transfer to a wire rack to cool. and that's really it - no hard sauce or syrup to mess around with. It's lighter and simpler that any other fruitcake I've ever had with a nice, tart cherry flavor and a smooth, slightly dense texture. This is a fruitcake that should satisfy both traditionalist and skeptic alike.

Mini fruitcake


If you have a favorite recipe that you would like to share, please email me at MarysFoodJournal@gmail.com and let me know how you would like to be identified (ie "a reader in Ellicott City" vs your actual name). Include any traditions or memories associated with the dish if you like.

Saturday, December 17, 2011

Holiday Baking: World's Best Sugar Cookies

This is another one of my mom's famous recipes from childhood and one she made often after school. She posted the recipe to kick off her blog back in 2008 and credits The Boston Cooking-School Cook Book by Fannie Merritt Farmer once again.

And, as long as we are baking cookies, I'm going to delve into some Good Cookie Technique.

You will need:

1/2 cup butter at room temperature

1 cup sugar
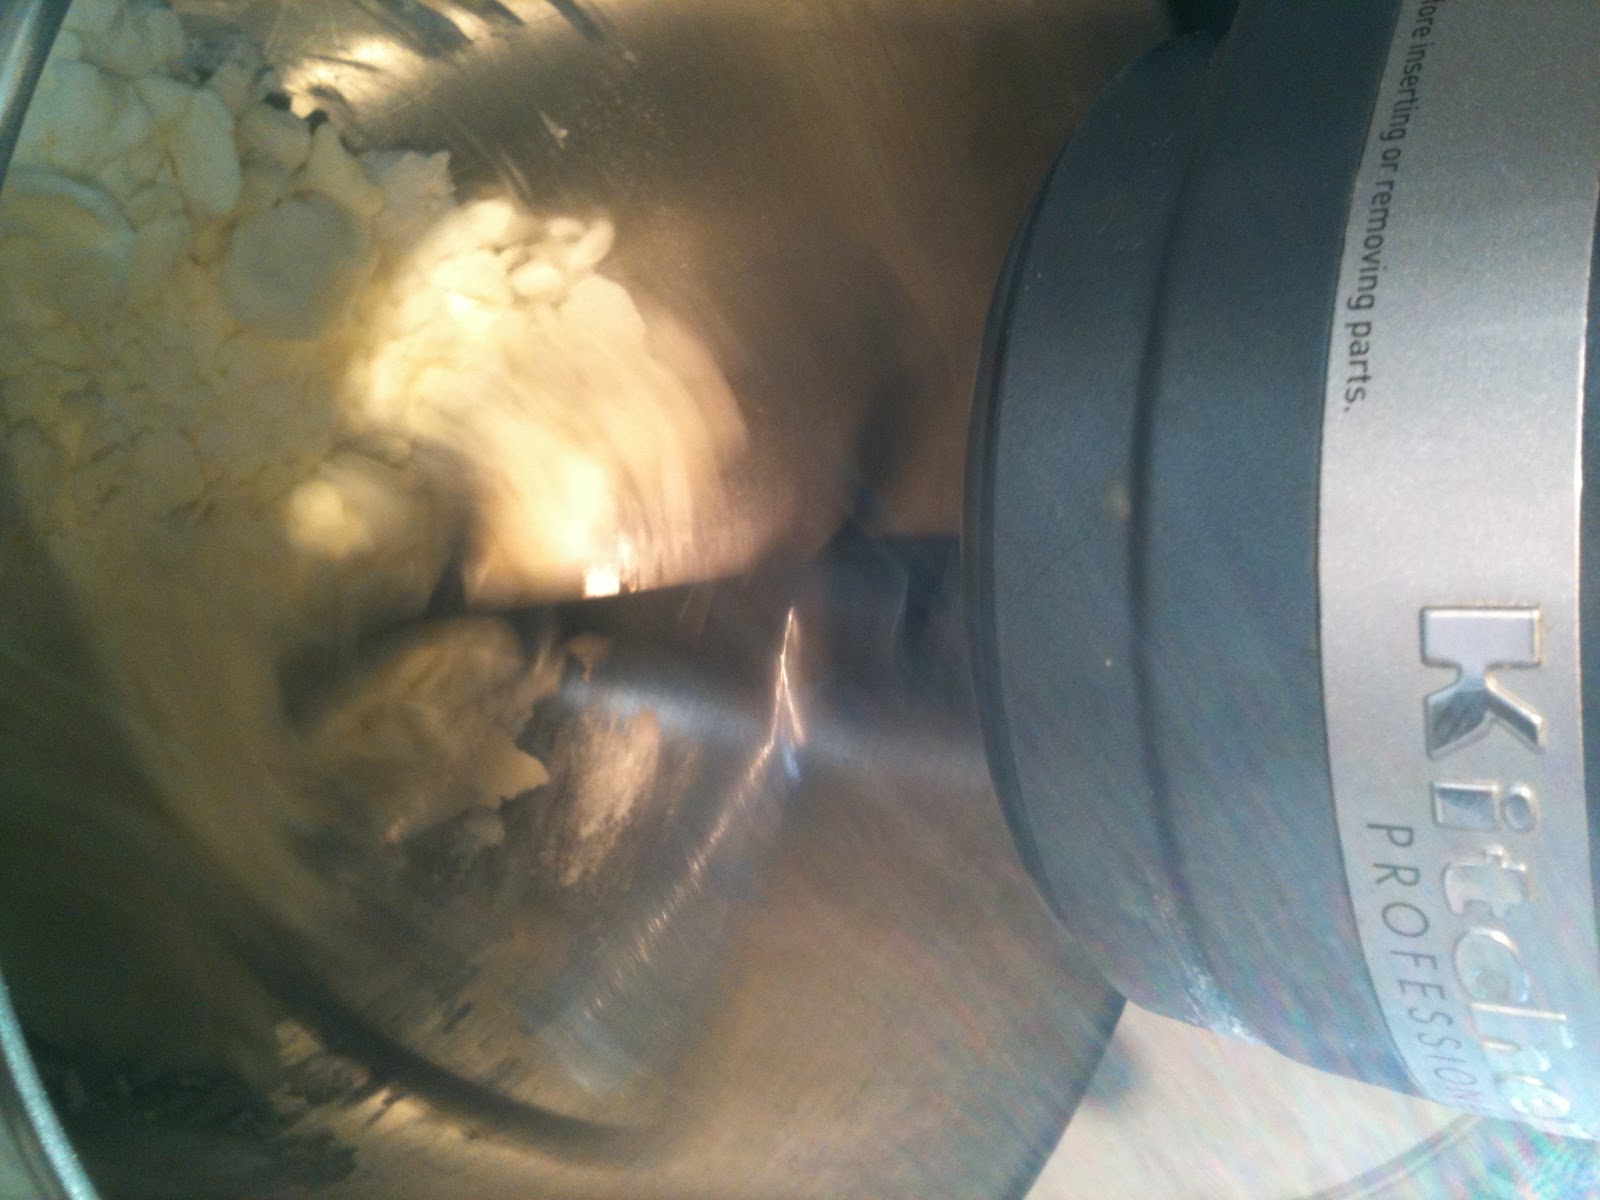
Cream butter. Then stir in sugar.

1 egg
1 tablespoon cream or milk
1/2 teaspoon vanilla
Mix together and add to above mixture.

1 1/2 cups flour – I measure it unsifted
1/2 teaspoon salt
1 teaspoon baking powder
Mix together and add to above mixture.

Preheat oven to 375.

A cookie sheet properly lined with
parchment paper
Now here's where I deviate. The recipe says to drop the dough onto a greased cookie sheet. This is a risky method, though, especially if you have a limited number of cookie sheets and plan on reusing them for several batches of cookies. The grease on the cookie sheet will heat as the cookies bake. It will also fuse with the butter and sugar in the cookies. This will lead to one of two things (or possibly both) - cookies that do not slide off the cookie sheet even though that is the purpose of the greasing, and the dreaded burnt bottom cookies. In addition, the grease prevents the surface from the cookie sheet from cooling, so the risk of burnt bottom cookies increases with each use of the cookie sheet.

There is a simple way to prevent this - parchment paper. Good Cookie Technique #1 is to never ever grease your cookie sheets. Parchment paper is like butcher's paper but not as heavy. (You can usually find it with either the flour and sugar in the baking aisle or with the aluminum foil and cling wrap. It's all over the place at this time of year, and usually on sale, so I stock up.) Lining your cookie sheet with parchment paper prevents the cookies from sticking but also shields their tender bottoms from the heat.


The portion control scoop in action

Good Cookie Technique #2 is to use a portion control scoop to drop your cookies rather than a spoon from your dinette set, especially if you are baking a ton of cookies and want to get the maximum yield from the recipe. I used to wonder how the writers of cookie recipes got 4 dozen cookies out of a recipe when I always got somewhere below half that. Then I started using the scoop and god perfectly formed cookies that totaled (and sometimes exceeded) the yield indicated. I know there are cookie hedonists out there who will scoff and say "Where's the fun in that?" It's up to you. If your cookies are a uniform shape they will cook more evenly, and if you aim for the same yield as the folks who created the recipe, you will more closely conform to the cooking time and temperature indicated in the recipe. Which, oddly enough, reduces the risk of half of your cookies being raw in the middle and the other half being burnt.


(NOTE: Bed Bath & Beyond sells a cookie scoop. Be forewarned - it kinda sucks. If you have a restaurant supply store in your area, get the smallest portion control scoop you can find. If you're in Green Bay, you'll want to head out Military Avenue to Warehouse Restaurant Equipment. It's right next to the Sara Lee outlet. It's also where I got my cookie sheets, mixing bowls, and numerous other items that I can no longer function without.)

Perfectly shaped cookies bake perfectly
OK, so we've dropped our cookies onto the cookie sheet. According to Mom, the next step is to gently flatten them and sprinkle a little sugar on top and bake them for about 8 minutes.

So most of us have multiple racks in our ovens. For baking cookies, I usually just use two and position them so that the interior of the oven looks like it's cut into thirds. One cookie sheet goes on the top rack and one goes on the bottom. Good Cookie Technique #3 is actually an all-around Good Baking Technique where multiple oven racks are needed. About halfway through the baking time, rotate your cookie sheets between the two racks so that the top sheet is on the lower rack and the bottom sheet is on the upper rack. This is especially important if you have an electric oven as that top rack puts the surface of your cookies pretty close to the heating coils. Rotating moves then away from the heat source before they get burnt. Plus it also makes for more even baking.


Like most culinary ventures, you'll need to pay attention. The cookies are done when they flatten out and are a light golden color at the edges. Mine baked in about 12 minutes. When they come out of the oven, just slide the parchment paper off the cookie sheet and onto the counter. Line your still hot cookie sheet with a fresh sheet of paper and you're ready for the next round.

I got about 36 cookies from this recipe. Here's how it appeared on Mom's blog.

If your cookies don't look right - they didn't flatten out, or they flattened out too much and appear melted - it's probably the butter. Good Cookie Technique #4 is to use room temperature butter and try to keep it there. If your kitchen heats up quickly when the oven is running, chill the dough between baking. Here's a link to an NY Times article with more good advice.


The finished product


If you have a favorite recipe that you would like to share, please email me at MarysFoodJournal@gmail.com and let me know how you would like to be identified (ie "a reader in Ellicott City" vs your actual name). Include any traditions or memories associated with the dish if you like.


Tuesday, December 13, 2011

How to Recover from a Sugar Hangover


In my posting about how to host a cookie party, I neglected to mention that as the host, you'll probably be right there with the kids eating cookie dough, as well as icing, candy decorations and the cookies themselves. If we're being realistic, there's a high potential you'll eat more sugar than you have since childhood. Shortly after your guests leave (for me it was about 20 minutes), you'll probably crash, and crash hard. Even with a good meal beforehand (my counterpart provided ham and eggs). Your pancreas will just be overwhelmed, and you'll go down.

Not only that, but the next day, you'll be sluggish and dull and generally out of sorts while your adult body tries to recover. (If you have kids, they will be fine.) I'm not a nutritionist but I do have some basic advice if you find yourself in this situation. Here are some simple steps you can take to bounce back:

1. Get Out the Oatmeal
Oatmeal is actually pretty good for stabilizing your blood sugar. It's a complex carbohydrate so as you digest it, it will break down more slowly than, say, a doughnut. Or nothing at all. Add a little protein - like nuts or a side of eggs or Greek yogurt - and you should get through the morning fairly well.

2. Have That Extra Cup of Coffee
You're tired, and a little extra caffeine will help get you going. Plus some studies have shown that there is something in coffee (not caffeine) that helps regulate blood sugar. (NOTE: this is coffee we're talking about, not soda and especially not diet soda. Those will cause more harm than good today.) Don't forget Mary's Common Sense Rule on Caffeine After Lunch, though. Any caffeine consumed within 8-10 hours of bedtime will interfere with your ability to get to sleep, so you still need to cut yourself off at around 11:00, awake or not.

3. Fruit Is Your Friend
Especially today. You will want that quick hit of refined sugar. You may even be craving it. You cannot give in to it. Have some apples close by. You'll get the sugar hit from the naturally occurring fructose in the apple, plus there's something in the skin that controls the breakdown of the fructose so you won't peak and then crash.

4. Get Moving
Nothing helps get the blood flowing like fresh air and a little exercise. Today you'll really benefit from a lunchtime walk. Even if it's cold out, at least take a turn around the block to get things moving again. And if you work out regularly, don't skip it just because you're a little dragged out. You'll feel better for it.

5. Hydrate
When your blood sugar dips, you get thirsty. Soda will not cut it today, not even diet soda. Both contain ingredients that contribute to dehydration. Plus the last thing you want to do today is feed that sweet tooth with refined sugar or anything that tastes like it. So it's good old water today. If that sounds less than appealing, add some lemon or try mineral water.

6. A Sensible Lunch and Dinner
We already covered breakfast. For lunch and dinner, make sure you focus on protein and veggies over starches and carbs. And, in this instance, potatoes and potato products (i.e. fries) are a starch, not a veg. Same with ketchup. I had my reliable soup and salad combo for lunch. This is a particularly good choice if your sugar hangover includes indigestion, which mine often does. This is a nice light lunch that's full of nutritional goodness as long as you stick to a clear-broth soup and go easy on the salad dressing. Dinner should also be well-balanced with most of your calories coming from protein and veg. And no dessert. Not today. Unless you want another apple. It's just the way it has to be.

7. Go to Bed On Time
To make sure you feel refreshed and fully recovered, make sure you go to bed on time and allow for the full 8-9 hours of sleep you should be getting. Any housework/school work/ work work will still be there tomorrow. Tackle it then. You should be fully recovered.

This is what dinner looks like for the next 3 weeks

Saturday, December 10, 2011

Holiday Baking: How to Host a Cookie Party

A neighbor of mine used to host a cookie party for her friends and their children this time of year. Everyone would bring their favorite cookie recipe - pre-made - and we would cut, decorate and bake cookies all evening. I was lucky enough to be able to participate for several years running, and it was really a wonderful way to spend a cold December evening. With enough planning, it's not that difficult to pull off.

1. Clean the kitchen
Thoroughly. You are inviting other people into your house to cook. You really want that kitchen spotless. And, if young children will be present, take the opportunity to move those knives to higher ground, well out of the way of any activity. You'll also want a large area for the cookies to be cut, and a separate area for them to cool.

2. Make the dough in advance
While most kids will be excited about the idea of a cookie baking party, they're really only good for about 2 hours. Having the dough already prepared ensures that you can roll right into the main event - cutting and decorating cookies.

3. Plan on a simple meal
The kids will be excited. They will be eating raw cookie dough. They will crash. The best way to mitigate this is to have a quick meal ready - sandwiches or a pot of soup are good choices. Let them eat while they work if you like, and serve them a mug of soup.

4. Ask your guests to bring something
Focus on having a couple of good cookie recipes prepared in advance - a sugar cookie and a gingerbread cookie. Ask your guests to bring the decorations - icing, colored sugar, candies - or maybe some cocoa and milk for later. If they have any cookie cutters, everyone should bring their favorites.

5. Use parchment paper
You'll be baking several batches of cookies. If you don't normally use parchment paper to line your cookie sheets, you'll want to do it now. The pans will be hot and they won't have much time to cool. Using parchment paper will prevent the dreaded burnt bottom cookies. It also makes for quick and easy removal from the pan to the counter to cool.

6. Pacing is essential
Ideally, you want people to spend the bulk of their time cutting cookies. As soon as you get a couple of cookie sheets filled, start them baking. While they bake, the next couple of cookie sheets can be filled. After 8-12 minutes, the first batch will be done and cooling. The second batch goes in, and you repeat the process. This will minimize down time and prevent some of the restlessness that comes with the season.

7. Have a mitigation plan
If everyone loses interest before all the dough has been cut, have some movies or a board game ready. Don't force it. If they've lost interest, let them go. And give them something to do while the last batch of cookies is baking.

8. Have an exit strategy
Once the last batch of cookies is in the oven, start some hot cocoa. When that last batch comes out and is cooling, start dividing up what has already been baked and decorated. Have some plastic containers ready - one for each of your guests. Wrap up with the hot cocoa and some cookies from the last batch.

This is truly a wonderful way to get together, especially for families with children who may not be able to spend a night on the town. And everyone likes a little cookie.

Christmas Cats


If you have a favorite recipe that you would like to share, please email me at MarysFoodJournal@gmail.com and let me know how you would like to be identified (ie "a reader in Ellicott City" vs your actual name). Include any traditions or memories associated with the dish if you like.

Sunday, December 4, 2011

Holiday Baking: Butterscotch Brownies

This is a much-loved recipe from my childhood. Mom was always good for a spontaneous batch of these, and now I know why. These are extremely easy. Which is a good thing, because when I first made them last year, I ended up making a double-batch a week throughout December.

Mom cites the source of this recipe as The Boston Cooking-School Cook Book by Fannie Merritt Farmer.

For a double-batch, you will need:

2/3 cup butter - this is a full stick plus 2 tbsp
2 cups brown sugar - for best results, pack it
2 eggs
salt
1 1/2 cups flour
2 tsp baking powder
1 tsp vanilla - the real thing, not the flavoring

Mom says to simply melt the butter, add the remaining ingredients, and spread it into a buttered pan. And, really, that's all there is too it. My only addition is to measure the other ingredients into a large mixing bowl and add the melted butter. I used a rubber spatula to mix everything together, which took under a minute.

Bake for 25 minutes at 350 and cool on a wire rack.

Pack the brown sugar into your measuring cup

It should look like this when you add it to your bowl

Melt the butter

The batter does come together quickly

It's thick s you'll need to spread it out

It should look like this when it's done

If you have a favorite recipe that you would like to share, please email me at MarysFoodJournal@gmail.com and let me know how you would like to be identified (ie "a reader in Ellicott City" vs your actual name). Include any traditions or memories associated with the dish if you like.

Holiday Baking: Lemon Tea Bread

So now that we are clear of Thanksgiving, I am full Holiday Baking mode. Every year I have a theme. One year it was Spice - gingerbread, cardamom cookies, etc, - another year it was color - lots of decorated cut cookies. When I asked my counter part about this year's theme, he recommended Blonde - light colored treats that would be visually appealing when packaged together. He also requested a lemon tea bread, sans poppy seeds.

When I checked my cookbooks, I didn't find a recipe I actually liked. A quick search of epicurious and All Recipes returned results that were also not quite right. Many of them included a mix - either pudding or cake - highly inappropriate for holiday baking (anything intended to be shared with others should be made from scratch IMHO). The recipe I decided on came from The Sweet Beet. I was directed there by an old childhood chum and contributor to @DINKDinners on Twitter - Wendy Weetabix.

You will need:

1/2 cup butter - this is a whole stick
3/4 cup sugar - for really nice results, run it through a Kitchen Aid coffee grinder for a few seconds
2 eggs
1 tsp vanilla - the real thing, not the flavoring
zest from 1 lemon - a micro planer works really well for this
1 1/2 cups flour
1 tsp baking powder
salt
juice from the lemon whose zest you are using
1/3 cup milk

Preheat the oven to 375.

Grease a loaf pan. Or, if you are planning on including this in your holiday cookie packages to friends and neighbors, use four mini-loaf pans. (Thanks to my counterpart, I have a set of superior min-loaf pans that he picked up at a specialty store for me.  <3 )

Cream the butter and sugar until fluffy.

Butter with ultra-fine sugar run through the coffee grinder

Cream together until light and fluffy


Add the eggs, vanilla, and lemon zest and mix until smooth.

Sift in the flour, baking powder and salt. This is best accomplished if you measure them into a separate bowl and then run them through your flour sifter together. Then add the milk and lemon juice and mix until well blended.

Pour the batter into your pan. If you are baking mini-loafs, use a small ladle to portion your patter into the pans.


Batter in my superior mini-loaf pans


Bake for 45 minutes for a full loaf, about 20 minutes for mini-loafs. When a toothpick inserted into the loaf comes out clean and the edges are golden, they are done. 


I think it should look something like this


Cool on a wire rack for a bit, then gently remove from pans to complete cooling.


Hmmmm.....they seem a little squat to me

Mine came out a little flat but should make nice bars if I cut them thick. I will try this again, but will make a double-batch to ensure I have sufficient batter to get nice-sized loafs.

Here is a link to the recipe as it appears on The Sweet Beet. Thanks, Wendy!

If you have a favorite recipe that you would like to share, please email me at MarysFoodJournal@gmail.com and let me know how you would like to be identified (ie "a reader in Ellicott City" vs your actual name). Include any traditions or memories associated with the dish if you like.

Saturday, December 3, 2011

Know What You're Eating

Heavy Cream vs Heavy Whipping Cream
Heavy Whipping Cream


Heavy Cream - WTF?????