Saturday, March 17, 2012

Mary Bakes Potato Bread

After a series of increasingly bad dinners that culminated with me being assured that I never actually have to cook ever again, I decided to return to more familiar kitchen terrain, and today I am baking bread.

I learned how to bake bread at my mother's bosom. It was Green Bay WI in the 1970's and grocery stores didn't have bakeries and she had seven mouths to feed on one income. Making bread at home was cost effective and probably more convenient than buying it. Later, when she re-entered the workforce and there was less time and more money, we would frequent the Dolly Madison outlet off of East Main in what is now known as the Three Corners neighborhood. But before such cushy times, I remember a childhood full of a different type of comfort - the smell and taste of home made bread.

This was also before bread machines, and my mother made her bread by hand. I follow this practice even with such modern conveniences as the Kitchen Aid (complete with dough hook) in the house. What I learned from my mother is that it's not just about the finished product. I learned that bread is about family, and that a lot of love goes into it. Bread is also about the process. And the process you follow shapes the end result.

I also learned that dough feels good. I learned this when I was four. Making bread was a family ritual shared by me, my mom, and eventually my younger sisters while my dad was at work and my older brother and sister were at school. Only we younger ones got to punch down the warm dough after the first rise and help knead out the air created by the yeast. And once the bread had baked, only we got slices of still-steaming bread covered with Mom's home made jelly, often made with fruit growing wild in our back yard.
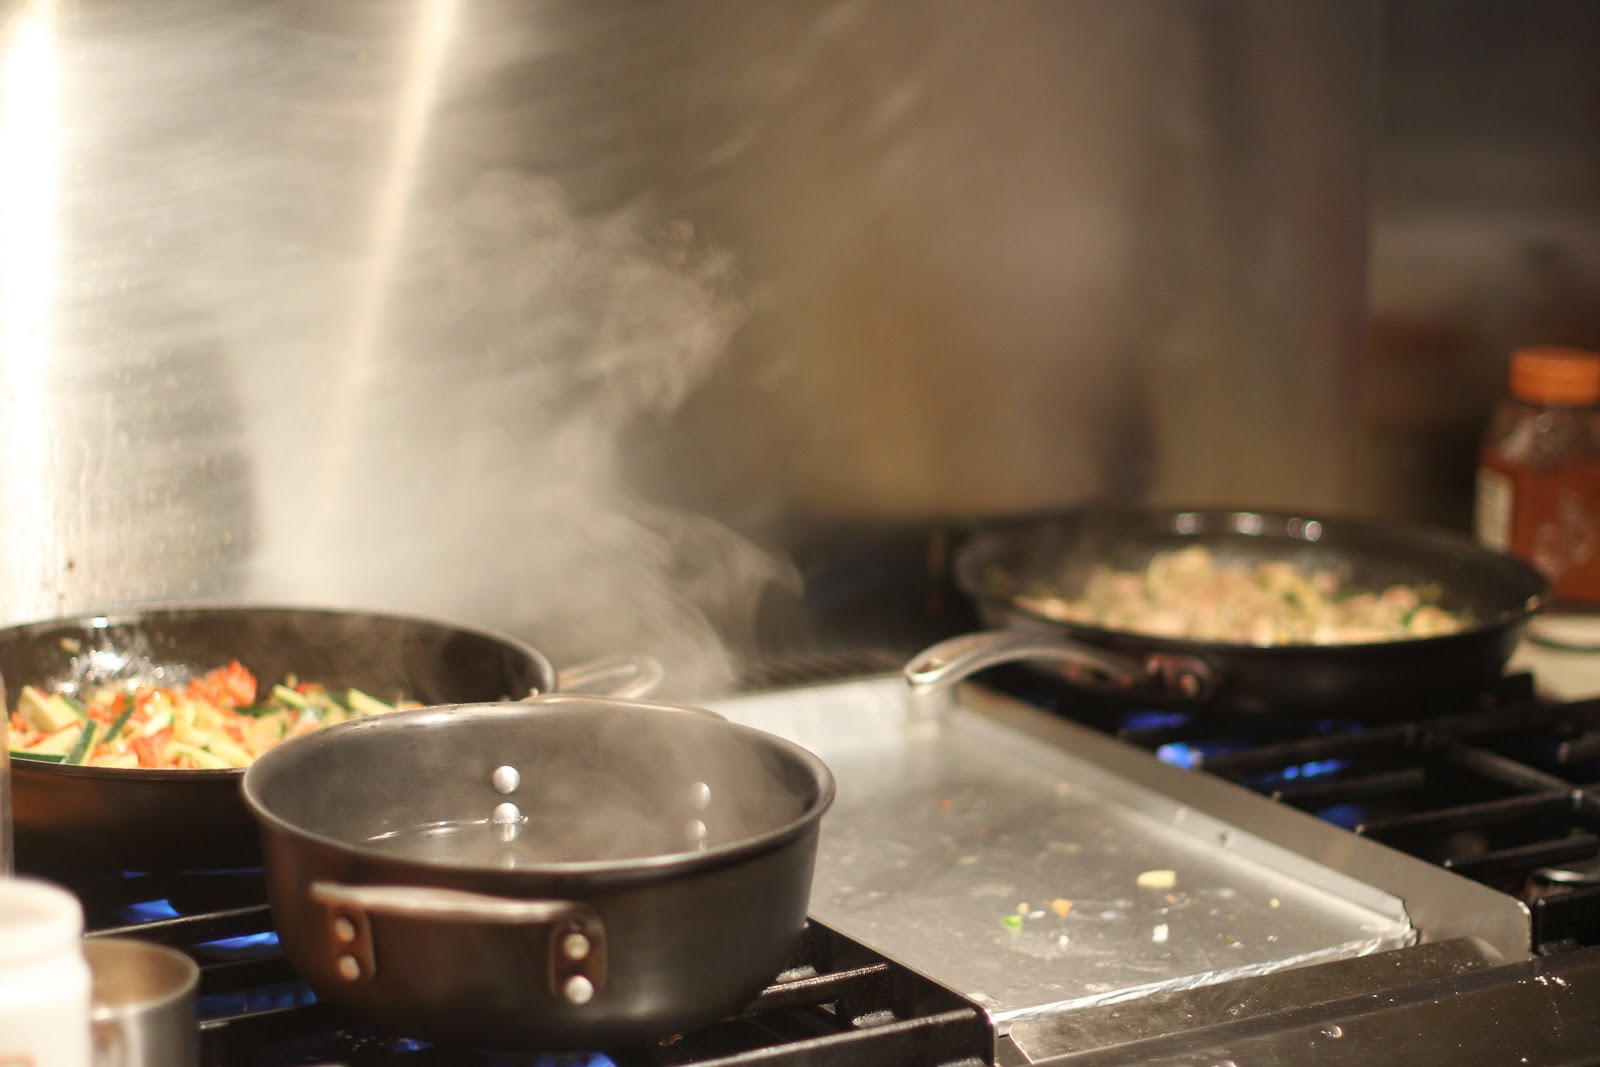

Mis en place

While my mom made a very nice, hearty loaf of white - and then later whole wheat - bread, I make potato bread. I use the Joy of Cooking recipe as my guide. Bread is one of those things that, because it so hands-on, absorbs the energy you put into it. If you knead the dough to work out your anger and frustration, the dough won't rise properly. You also get better results from your yeast when the moon is full. And, all ingredients should be at room temperature when you start as cold eggs or milk will result in sluggish yeast. For potato bread, the type of spud you use also has an impact based on the starch content. I get results that I like best with red potatoes. They have a strong potato flavor and are not too starchy.


Sweating eggs are still too cold


Buttermilk Potato Bread

3/4 cup mashed potatoes, still warm
1 stick very soft butter
4 tsp active dry yeast
2 cups buttermilk
2 large eggs, lightly beaten
2 tbsp sugar
2 1/2 tsp salt
about 6 1/2 cups flour

I'll start with reheated left-over mashed potatoes if we have any. If not, I'll make my own. a couple of good-sized potatoes should be enough. I don't usually measure them out but then add enough flour at the end to make it work. I also season the potatoes with salt, pepper, butter, cream, and herbs.

Using a large bowl, mix the softened butter into the potatoes until fully integrated. Add the yeast, buttermilk, egg, sugar, and salt.

NOTE: If you don't have buttermilk on hand - I know I never do - you can make your own by adding a couple of dashes of a light vinegar - not Balsamic - to regular milk.


Regular milk


Add some vinegar to curdle slightly


Add the first three cups of flour and blend in with a spatula or wooden spoon. Once integrated, begin adding the remaining flour one cup at a time. After for or five cups of flour have been added, you'll need to give up the utensils and mix by hand. This is a wonderful experience. If the dough is still sticky after all the flour has been added, add a little more until the dough is smooth and elastic.


Smooth and elastic dough


Once it's the right texture, shape it into a ball and place it in an oiled bowl, flipping it to coat with the oil. Cover with a towel and leave it alone to rise until it has doubled in size, about an hour or so. This can be done at room temperature. However, if  the various factors cited above prevent you from getting a rise out of the dough, place it in a warm oven (175 or lower) with the door ajar.


Doubled in size


Once the rise is complete, knead out the air, using additional flour if the dough becomes sticky. Shape the dough into two loaves and place into greased loaf pans with any seams or creases facing down. I am partial to Pyrex glass pans as the glass provides an even baking temperature and creates a nice crust. I also recommend using the full 8- or 9-inch loaf pans rather than mini-loaf pans for a yeast bread.

Cover and let rise again, keeping an eye on things as this rise is usually quicker - about 45 minutes or less.

Bake at 375 for 45 minutes to an hour, depending on how your oven behaves. Pay attention to things after the first 30 minutes. Things baked in my oven tend to develop a dark outer crust before the insides are completely cooked. When the upper crust is just about the right color, I cover the loaves with foil until the rest of the bread catches up. Once I see a golden brown crust forming on the bread in the pan (I can see this because I'm using Pyrex), the bread is done.


Fresh from the oven

Cool in the pans on a wire rack for at least 30 minutes before cutting a piping hot slice, slathering it in butter, and enjoying thoroughly.

Breakfast for Lunch at Miss Shirley's


I first learned of Miss Shirley's when I encountered their food truck in Fells Point. I was quite pleased to learn that they have a sit-down restaurant in the Inner Harbor just a few blocks from my office. Located in the Constellation Energy building on Pratt Street across from the Power Plant, Miss Shirley's is in the same building as a professional colleague I've had the pleasure of working with at two different jobs. So, with the weather in Baltimore on the cusp of true summer this week, I made Friday lunch a two-for-one treat and met my work buddy for lunch.

For the uninitiated, Miss Shirley's is named for Shirley Dowell, a long-time presence in many Baltimore kitchens until her passing in 2001. There are two locations in Baltimore - Roland Park and the Inner Harbor - plus one in Annapolis. Each location features a pancake of the month (announced on their Facebook page), making Miss Shirley's the area's breakfast and brunch hot spot. Their website notes that proper attire is required, a touch of civility that my generation, with our proclivity for athletic wear and flip flops, seems to need every now and then.

The first thing I noticed about the Inner Harbor location was the efficiency. They have a spacious sitting area and a sign at the hostess station clearly stating that parties will not be seated until all diners are present. This helps keep the dining room moving at a consistent pace as it prevents partially-filled tables from languishing in restaurant limbo - occupied but not ready to order. This is purgatory for waitstaff, and enough of these half-tops can throw a lunch rush into the weeds remarkably quickly. So, Miss Shirley's gets marks from me knowing how to keep things moving.

And this is necessary as they are busy. They do not accept reservations, which also makes sense as the general public is notoriously unreliable (see the previous paragraph). All seating is first come, first served. But, with the aforementioned efficiency, people keep moving. As I waited for my buddy, a line never really formed as diners were seated almost immediately. The only folks waiting were people like me who were expecting friends.

The menu is a blend of traditional Baltimore fare with just a touch of the eclectic to be interesting without crossing over into culinary disaster. The lunch menu features item like the Hog Wild - a pulled pork sandwich on a challah roll served with classic coleslaw and fried pickles, the Eastern Shore Po Boy - fried oysters, bacon, and mixed greens on ciabatta, and the Pratt Street Cheeseburger - a half-pounder topped with a fried egg.

Breakfast is served all day, and the menu is equally creative. Classics like steak and eggs and chicken fried steak come with fried green tomatoes on the side.

And then there are the pancakes. In addition to the monthly feature flavor, he menu lists five typical varieties - banana, blueberry, strawberry, raspberry, and chocolate. They come three to a serving, dusted with powdered sugar with a side of real maple syrup. While I did not have any, my buddy raved about them and ordered some to take home to her daughter.
Crab Cake and Fried Green Tomatoes Eggs Benedict

We both ordered the Crab Cake and Fried Green Tomatoes Eggs Benedict - $19.99 on the day we were there.  The traditional poached egg is served atop a mini crab cake with a corn-battered fried green tomato replacing the English muffin. This is ingenious. Once the tomato is coated with batter and fried, the cornmeal forms a firm golden shell that takes the weight of the egg and crab cake. Until you cut into it, releasing the sweet, juicy tomato, providing a wonderfully bright note to what is often a heavy, oily dish.

The crab cake at Miss Shirley's is also fairly light with a gentle had on the Old Bay and the filler. It had a true crab flavor - a little rich, a little sweet - and broiled, not fried. (Personally, I think the fried crab cake is a culinary atrocity. The cake picks up too much oil which compromises both the flavor and the structural integrity.) Nothing compares to a perfectly-broiled crab cake with a nice browned crust on the outside and fresh, unadulterated meat inside. Miss Shirley's got it right.

They also got the poached egg spot on. The egg had the shape and feel of eggs poached directly in the water and not in one of those poaching contraptions in which the egg is placed in a metal cup inside a pan of boiling water. This bain marie approach to poaching eggs rarely results in a nicely-cooked egg.

Lightly cooked asparagus and a spicy corn relish rounded out the dish. A hollandaise sauce topped everything off that was a true condiment. It accented the food without overpowering it. While I remember enjoying it at the time, it was so unobtrusive that in retrospect I cannot recall the specific details other than it was creamy and blended into the dish perfectly. And this is how a condiment should be in a dish with so many other wonderful flavors and textures - a complement.

And, a final note on efficiency. Total time from seating to payout was 45 minutes. At no point did the service feel too rushed, nor did we ever feel forgotten. Perfect for the office worker to get a decent meal.

Open at 7:00 AM during the week, I may have to take advantage of their take-out window in the future. As we continue to move into summer and we are pulled out of the office and into the sun for lunch, Miss Shirley's will definitely be added to my list of lunch spots.


Monday, March 12, 2012

Mary Cooks: Chicken with Roasted Lemon, Green Olives and Capers

Experiences that engage multiple senses make solid and lasting memories. This is part of the reason why a certain smell or taste can evoke vivid childhood experiences. It's also part of why eating and family meals are so important. And, it's part of what led to Monday's dinner. As I was perusing recipes on epicurious.com, I came across this. Even though lemon + olives + capers = a very bitter sauce, the recipe reminded me so much of the food I had in Milan, I suffered a wave of nostalgia so strong that, against all reason, I decided this was the dish to make for dinner. So, without further ado, I present Monday's dinner: Chicken with Roasted Lemons, Green Olives, and Capers


Mis en place


Roasted Lemons
12 thin lemon slices (from 2 lemons) - I used a single lemon and got 8 thin slices
Olive oil

Preheat oven to 325°F. Line baking sheet with parchment paper. Arrange lemon slices in single layer on prepared sheet. Brush lemon slices with olive oil; sprinkle lightly with salt. Roast until slightly dry and beginning to brown around edges, about 25 minutes. (Lemons can be made 1 day ahead. Transfer to container. Cover; chill.)

Roasted lemon slices


Chicken
4 large skinless boneless chicken breast halves - I used thighs and cut them into bite-sized pieces. After the unfortunate cashew chicken from last week, everything is in bite-sized pieces. If it looks the same, it cooks the same. Which means: for even cooking, make sure everything is cut the same size.
All purpose flour
5 tablespoons olive oil - I used half for my meat and the other half for some veg
1/2 cup sliced pitted green Sicilian olives or other brine-cured green olives
2 tablespoons drained capers
1 1/2 cups chicken stock or canned low-salt chicken broth
1/4 cup (1/2 stick) butter, cut into 4 pieces - I totally left this out
3 tablespoons chopped fresh parsley - I substituted cilantro

I also added a vegetable medley consisting of:
1/2 white onion, diced
1 red bell pepper, diced
1 jalapeno, diced
1 small zucchini, cut into matchsticks
1 large clove garlic

Before you even start cooking, prep the veg. Then, on a separate cutting board, prep the meat. Remember that the veg to meat ratio should be about 5:2.

Still not enough veg, but an improvement over last week


Sprinkle chicken with salt and pepper. Dredge chicken in flour to coat both sides; shake off excess. I sprinkled salt, pepper, and flour on my chicken bites and tossed it all together to coat. 


Heat 5 tablespoons oil in heavy large skillet over high heat. Add chicken and cook until golden brown, about 3 minutes per side. Stir in olives and capers. Add stock and bring to boil, scraping up browned bits from bottom of skillet. Boil until liquid is reduced to syrup consistency, turning chicken over after 3 minutes, about 5 minutes. Reading this passage, it sounds like if you flour your meat and then add stock to it as it cooks, you will get meat simmering in a beautiful sauce. This is a blatant fallacy. The sauce will separate as soon as you remove the heat. Which mine did

Magic sauce

While the chicken was cooking, I heated a separate pan for my veg. The onion, peppers and garlic will all cook at about the same speed. The zucchini cooks quicker, even in larger pieces, so I let everything else cook for about 7 minutes before I added it to the mix.


Note that the veg will cook down to about half the original volume


 I also started a pot of pasta.

Three pans on the stove top and something roasting in the oven - that's very chefy

 
Add butter, roasted lemon slices, and 2 tablespoons parsley; simmer until butter melts and chicken is cooked through, about 2 minutes. Season with salt and pepper. Transfer to platter. Sprinkle with remaining 1 tablespoon parsley. OK, so I skipped the butter, but did add the roasted lemon and cilantro and let it simmer until the pasta cooked. The sauce separated and had to be reconstituted with a little cream and some additional stock. Gareth topped it off with a hard cheese.

The finished product. Even cheese can't save this dish.


Now, here's where I have to say that some recipes are just not good ideas. This might be one of them. While it was only marginally edible, Gareth could see the direction I was trying to go with this. There are several fundamental things wrong with this recipe that need to be addressed for any level of success:
  1. The lemons. Lemon zest and lemon juice are both very good things in a sauce. Actual lemon slices? Not so much. On his third bite, my counterpart got a lemon slice in his mouth and was unable to continue.
  2. The capers. They are pungent. They are vinegary. They are bitter. There are really only two dishes in which capers will really work: a bagel with lox, and pate. Both contain other strong flavors for which the caper is a counterpoint, and both contain a high volume of dairy. Unless you;re using a quart of cream, leave the capers out of it.
  3. The sauce. There is no magic sauce that thickens in the cooking process because the meat is coated with flour. This is really cooking code for "lazy-ass sauce". Whenever you see cooking instructions like this, just break out your medium sauce pan and make a roux like you're supposed to. 
So, Monday's dinner was not exactly a success. But it wasn't a complete failure, either. I learned a little more about food and cooking. Plus we both had a pretty good laugh.

Saturday, March 10, 2012

Mary Cooks: Week 1

This week, I managed to produce three fairly decent evening meals.They were all very different, so even though they were all chicken, they all had their own distinct flavor. And no one got food poisoning. Which is progress for me.

Monday: Butter Chicken
Indian Butter Chicken
This was really the strongest meal of the week. This one also had the most pre-planning. We started discussing this on the previous Friday. I looked at maybe a dozen different recipes before I found the one I wanted to use. And I followed the recipe fairly closely. And even though I had never cooked Indian food before, the result was a well-cooked meal that even tasted fairly authentic. Thinking about a meal for three days before you sit down to cook is not going to get you dinner every night. However, a bit of planning is a definite success factor in the kitchen. It's best to be familiar with what you are cooking - whether through comparing various recipes or talking it over with a friend - so that when it comes time to start cooking, you have an approach.

Dubious Cashew Chicken
Tuesday: Cashew Chicken
This was the disaster of the week. It was random and haphazard. Even though we talked about this one over the weekend, I never really got a concept in my brain for this dish until I found the Peanut Chili Chicken recipe I based it on. With no solid approach, I made several mistakes which resulted in undercooked chicken and a serious lack of veg. Like everything else in life, in the kitchen failure to prepare is preparation for failure. While the cashew coconut chili sauce was rich and flavorful, the other shortcomings of the meal made it mediocre at best.

Wednesday: Bad Meal Resuscitation
All that being said, the Cashew Chicken really wasn't too far off and only had a couple of things that needed correction.

First, to completely cook the chicken, we cut it off the bone and into bite-sized pieces. This is almost always a winning plan for meat for the novice cook. It will cook quickly and completely, and provides maximum visibility into the cooking progress.

Second, we cut up five times the amount of vegetables I used the previous night. We used cabbage and some additional onion, which was cooked in a separate pan and added to the chicken at the end

Third, we had to salvage the sauce. Overnight, the oil in the cashew butter separated from everything else. Once the chicken had been pulled out for remedial action, the sauce was reheated over moderate heat to pull it back together. My counterpart took the lead as I was at a loss. He added some cream to help keep it together. The additional dairy muted the impact of the three Thai chilis, so he added some Tabasco and a generous does of Korean garlic chili sauce. He also made sure it got hot enough to bubble. After sitting overnight in the same container as undercooked chicken, this is necessary to ensure any harmful bacteria from the raw meat are sufficiently dealt with.

These three simple steps moved the dish into the successful area. Even though I was frustrated and disappointed with the whole Cashew Chicken experience, the work I did on Tuesday wasn't too far off. A little more planning and a little more prep work would have made all the difference.

Thursday: Spanish Style Chicken with Saffron
Spanish Style Chicken with Saffron, Take 1
Here's where I stepped outside my typical working zone in the kitchen. I found this recipe on Thursday morning and didn't give it a second thought - I knew this was dinner. I read it several times and thought about how the dish should feel and taste and be presented, moving from the basic mechanics of assembling ingredients based on a recipe to considering the overall intent of that recipe. While I still had some missteps - the recipe called for peas, which turned out to be not quite right - I really liked the end result. The sauce itself makes this worth a second try. I'll be preparing this again next week with a slightly different approach. And more veg. American recipes never have enough veg.

Friday: Prep Night
On Fridays, we typically hit the grocery store to buy the following week's supplies, and to discuss the meal plan. I'll be taking the lead again next week, so there will be more chicken. I'll be boning and skinning the chicken today, and making stock from the skin and bones. I'll pack up my meat into separate packages that contain enough for dinner plus leftovers for lunch. I know my raw veg content should be about five times the volume of my raw meat, which means about 20 minutes of prep work before I even start to cook. And I know how and when to deglaze a pan. Which is considerable progress.

Friday, March 9, 2012

Mary Cooks Spanish Style Chicken with Saffron

The recipe I selected for Thursday's dinner was really more of a guideline. I knew I had some more chicken to cook and searched epicurious.com for ideas and found this recipe for Spanish Style Chicken. I used the same ingredients but in a different manner, making decisions as a cook to attempt to make the best meal out of the ingredients at hand. I also reduced the recipe from 8 servings to about 3. And engaged in other assorted aberrant behavior.


Mis en place


Ingrdients
1 (3 1/2- to 4-lb) chicken, cut into 8 serving pieces - I used two large breasts cut into bite-sized pieces
1 tablespoon olive oil
1 large onion, chopped - I substituted shallot
1 large red bell pepper, cut into 1/2-inch pieces - I substituted small sweet peppers, diced
4 garlic cloves, minced
2 teaspoons paprika
2 cups long-grain white rice
1 1/4 cups dry white wine - I cut this way back, even in my reduced proportion
1 (14-oz) can diced tomatoes including juice - I used fresh cherry tomatoes which I pureed with the immersion blender
1 3/4 cups chicken broth
3/4 teaspoon crumbled saffron threads
1 bay leaf (not California)
1 cup frozen peas (not thawed)
1/2 cup pimiento-stuffed green olives, coarsely chopped - I used the Spanish olives Gareth gets from Wegmans


Pat chicken dry and season with salt and pepper. Heat oil in a 12-inch heavy skillet (at least 2 inches deep) over moderately high heat until hot but not smoking, then brown chicken on all sides, about 12 minutes total. Transfer chicken with tongs to a plate.


No bones = no surprises. Chicken cooked all the way through


Pour off all but 2 tablespoons fat from skillet and add onion, bell pepper, and salt to taste. Cook over moderate heat, stirring, until softened, about 7 minutes. OK, here's where I deviated. I added the wine at this point, using it to deglazed the pan. I have always considered this an Advanced Cooking Technique, but it was actually quite easy. I turned down the heat a little and let the alcohol cook off the wine, then added the shallot and peppers as instructed. 


Even I can deglaze a pan


NOTE: I thought this was very chefy and was quite pleased with myself. When I told my counterpart of this great leap forward in my culinary skills, he looked horrified and said, "You cooked your veg in the glace from the pan?" Apparently, you should cook your veg in a separate pan and when you deglaze your meat pan, you add the glace to your sauce at the end. But, still, this is pretty far removed from the "Cut towards your chum, not towards your thumb" cooking advice I usually need.


The highly deviant technique of cooking veg in glace


Add garlic, paprika, and rice, then cook, stirring, 1 minute. Add wine and boil, uncovered, 2 minutes. Stir in tomatoes with juice, chicken broth, saffron, and bay leaf. More deviance on my part. I decided to cook the rice separately. I did add the other ingredients (except the wine, which was added in the previous step). And I did use real saffron. We have some in the house, and I used it. But just a little. Making this the most expensive meal I have ever cooked, removing the grilled brie and Gorgonzola sandwich I cooked in goat butter a few months back out of the title position.

Nestle chicken in rice, adding any juices from plate. At this point, I just added my chicken pieces.


Sauce is cooking down


Cook, covered, over low heat until chicken is cooked through, rice is tender, and most of liquid is absorbed, about 15 minutes. I did let it all simmer uncovered until the sauce cooked down a bit - about 7-10 minutes. I also tasted it during this time and decided it needed a dash of cumin and a little more salt.

Remove from heat and stir in peas, olives, and salt and pepper to taste. Cover skillet and let stand 10 minutes. Discard bay leaf. I did this but lost track of time. When I came back, my peas were wilted.


Spanish Style Chicken with Saffron


Overall, I got points for the light, tangy, flavorful sauce and the olives but demerits for the sad little peas. They didn't really taste quite right in the sauce. My counterpart suggests using a mix of carrot and celeriac cut into matchsticks for the veg and to serve on a small bed of cooked cabbage with bread instead of rice.

Wednesday, March 7, 2012

Mary Cooks Nothing

Tonight is Leftovers Night. We are reclaiming the Cashew Chicken from last night. My spouse is at the helm, and the natural order of things has been restored.

The chicken got cut off the bone into bite-sized pieces, the sauce was augmented with leek and more veg. With a fresh pot of Jasmine rice, we had a very nice dinner.

Tuesday, March 6, 2012

Mary Cooks Cashew Chicken

Tuesday's dinner starts with an old recipe from our salad days, those happy golden years of our life together. While we weren't yet married, we were well on the way - out of his bachelor pad, out of the city, out in the suburbs. We were no longer working for Manpower or Kelly or Office Team. We had "real" jobs and a neat little row house just across the Harford County line.

When we look back on that time, we remember it as the time when I made a sincere effort to figure out what being a wife entailed. This included attempting to cook dinner. I relied heavily on Betty Crocker recipes, mostly for their simplicity and their versatility. The Peanut Butter Chili Chicken became a favorite, both as written and easily nudged into one direction or another. When Gareth requested cashew chicken, I initially drew a blank. Then, I pulled out this old recipe and began to improvise.

And ended up with a cooking experience that is more typical of my endeavors in the kitchen. I debated telling the full story behind tonight's dinner, or just posting the recipe and the photos and pretending everything went as planned. However, every failure has lessons to share, especially kitchen failures.

Mis en place

So, here are the base ingredients for Betty Crocker's Peanut Butter Chili Chicken:

Salt and Pepper
3 lbs chicken - I used about 6 thighs
2 tbsp oil - I used peanut oil
1/2 cup onion chopped - I used shallot
1/3 cup peanut butter - I used cashew butter
1/4 cup chili paste
1/2 tsp cayenne - I used 3 Thai peppers, minced

I also added:
1/3 cup coconut milk
1 generous tsp ground ginger
2 carrots, cut into matchsticks
a small bouquet of cilantro, chopped

I started out on the stove top as per the recipe, cooking my salted and peppered chicken thighs in the oil. I skinned them but did not bone them. Bone-in meat cooks differently than boned meat. This will cause me problems later.


Chicken cooking on the stove top. Unbeknownst to me, trouble is also cooking.


After about 20 minutes on the stove top, I transferred the thighs to a dish, let the oil cool, and set about making the sauce. The recipe says to saute the onion in the chicken drippings and then add the reaming ingredients and cook until smooth. I did except for the carrot, which I cooked separately, and the cilantro, which I added at the end.

While I noticed that the cashew butter seemed to separate much more readily than peanut butter does, I managed to keep the sauce smooth and creamy.


A smooth and creamy cashew coconut chili sauce


With the meat, the sauce, and the veg cooked, I assembled everything into a single pan to simmer for about 10 more minutes.

It smelled good. It looked good. I plated up.


Is it really done?


It tasted good, too. Until I cut into the thigh and saw that, true to form, the meat around the bone was still raw. I returned to the stove top, turned the back burner on low, covered the pan, and waited for the meat to finish cooking.

About that time, Gareth came home. He looked at what had become of dinner. He came to the rescue. While the meat was cooking, the cashew sauce proceeded to separate, the oil saturating the pan. Gareth rescued this by gradually adding milk to the sauce and mixing it in a little at a time. He also added some cabbage as my two carrots for 3 pounds of meat was a little off. The end result was some thing pretty good. He let me know that, despite my trials and travails, it looked like I had come fairly close to success.

The take-aways are mostly that boning meat is always worth the time, and that you can never have too much veg.

Mary Cooks Butter Chicken

When my counterpart first started discussing this week's dinner plans with me, we agreed that chicken would be the most likely to yield success. It's cheap and it goes with just about everything. He recommended I start with an Indian dish known as Chicken Makhani, or Butter Chicken. I've never actually had this dish, which I think worked in my favor as I had no preconceived notions.

I found a recipe on allrecipes.com that looked fairly straight forward. And I followed it almost exactly.

Mis en place

For the sauce:

1 tablespoon peanut oil
1 shallot, finely chopped
1/4 white onion, chopped
2 tablespoons butter
2 teaspoons lemon juice
1 tablespoon ginger garlic paste - I substituted a clove of garlic and a generous teaspoon of ground ginger.
1 teaspoon garam masala - I used hot Madras curry powder
1 teaspoon chili powder - I substituted three Thai chilis, finely chopped
1 teaspoon ground cumin
1 bay leaf
1/4 cup plain yogurt
1 cup half-and-half
1 cup tomato puree
1/4 teaspoon cayenne pepper, or to taste
1 pinch salt
1 pinch black pepper


Heat 1 tablespoon oil in a large saucepan over medium high heat. Saute shallot and onion until soft and translucent. So far, so good.

Shallot and onion in peanut oil

Stir in butter, lemon juice, ginger, garlic, 1 teaspoon garam masala (or curry), chili, cumin and bay leaf. Cook, stirring, for 1 minute. My substitutions appeared to be working out just fine.

Add tomato puree. Now here is where disaster struck. I found a can of tomato puree in the pantry. The label is a brand that Trinacria carries, and it's been a while since we've shopped there. As in years. Still, it never occurred to me that canned goods can go bad.


The pureed tomatoes that time forgot

Undeterred, I turned off the heat on my simmering sauce, dashed to the pantry, and found a reasonable substitution:


An unexpected substitution

And proceeded to the next step. Cook for 2 minutes, stirring frequently.


The sauce is saved from near disaster

Stir in half-and-half and yogurt. Or in my case, labne.

In the final stage

Reduce heat to low, and simmer for 10 minutes, stirring frequently. Season with salt pepper. Remove from heat and set aside.

For the chicken:

1 tablespoon peanut oil
1 pound boneless, skinless chicken thighs, cut into bite-size pieces
1 teaspoon garam masala - again, I used hot Madras curry powder
1 pinch cayenne pepper
1 tablespoon cornstarch - I substituted potato starch and cut it in half
1/4 cup water

Heat 1 tablespoon oil in a large heavy skillet over medium heat. Cook chicken until lightly browned, about 10 minutes.


Chicken

At this point, I drained the excess oil out of the pan. I know one of the reasons why my cooking turns out dry and flavorless is my fat phobia. Really, I just couldn't take it anymore at this point.

Reduce heat, and season with 1 teaspoon garam masala and cayenne. Stir in a few spoonfuls of sauce, and simmer until liquid has reduced, and chicken is no longer pink. Stir cooked chicken into sauce.

Mix together cornstarch and water, then stir into the sauce. Cook for 5 to 10 minutes, or until thickened. I wasn't sure about this last step but proceeded against my gut instinct. It changes the consistency of the sauce quite a bit. When my counterpart tried it, he said that the sauce is usually more liquid. If you take this step and are not pleased with the results, some milk or cream can be added to get the desired consistency.

The finished product

Overall, I was very pleased with the results. My counterpart confirmed that it ended up tasting just about right. All I can say is - I can't believe I made that.

Thursday, March 1, 2012

Mary Cooks


My spouse uttered five little words last night - a simple phrase I dread that invariably releases the beast from the deep recesses of my anxiety closet - "I'm working late next week."

The words hung in the air for a moment with all the unspoken implications in a cloud around them. I felt my heartrate quicken as my chest contracted and a tiny seed sprouted in the pit of my stomach. The moment passed, and I picked up my end of the conversation with a carefree shrug: "I can cook dinner."

Regular readers know that I am not the kitchen talent in this operation. While I enjoy good food and feel it is an important part of a healthy and happy life, I have so far been unable to create it outside the realm of dessert. Over the years, I have committed a host of gastronomical blasphemy, including Dried Pork Chops, Winy Pasta, Steakcicles, Bloody Chicken Thighs, and my enduring specialty - Unremarkable Sauce. While I managed to pull together a pot pie a few weeks ago during a work from home day, the result was mediocre at best, eaten because it was there on the table when he got home. While he said at the time that it was pretty good, this is in comparison to the afrementioned attempts. I was the sole consumer of the left overs. Besides, the protein:veg:carb ratio is all wrong. You can never add enough meat and veg to balance out the starch and fat of the pie crust.

My spouse is a good sport about these things, though. He did not laugh or poke fun at past endeavors, even the very recent ones (Twitter followers - remember the orange in the veg stock to cut the bitter from the greens? Didn't work.). He smiled patiently and asked what I planned on cooking.

"Chicken," I replied, brimming with false confidence. "I can cook chicken."

Which is true - I can. There are a plethora of chicken recipes to be found in our collection of cookbooks, as well as online. Plus, chicken is forgiving. It is inexpensive. If I screw it up, it's not like I've fouled $20 worth of duck or rabbit or venison.

The trick, as my spouse pointed out, is making it taste like something. As the name Unremarkable Sauce implies, my previous attempts at dinner have been notoriously bland, often approaching outright flavorless. Maybe it is my lack of confidence in the kitchen or the genetic imprint of my Northern European heritage or a fear of wasting all the really good ingredients that I know he will make better use of. Whatever the reason, unless it's a stir fry I'm making, I never get the seasoning right or the timing right or a combination of both and often end up with something either over-cooked or under-cooked and completely lacking in any flavor beyond paste.

If he is going to be working 12-hour days next week, he is going to want to eat soemthing that comes closer to actual food than I've usually managed to muster. Not one to hedge his bets in this area, he took the time to show me the following sauce to use on chicken, specifically instructing me to commit it to memory:

1. Mince 1/2 white onion and zip it with the immersion blender for a few seconds.
2. Cut up a jalapeno and a medium section of leek and zip them with the onion.
3. Press in a couple of cloves of garlic and add some chili paste.
4. Blend with the immersion blender until pureed.
5. Add to chicken thighs as they simmer on the stovetop in a little stock.
6. Serve with rice.

Easy, right?

To Be Continued Next Week......