This is a variation of the Sullivan Street Bakery's No-Knead Bread. This bread has a long, slow rise and is steamed while it is baked in a cast iron skillet or dutch oven, creating a loaf with a thick, chewy crust and a dense, slightly doughy flesh. It has a nice wheat flavor and keeps well when wrapped in freezer paper and left on the counter.
 You will need:
5 1/2 cups all-purpose flour plus 1/2 cup whole wheat flour
1 teaspoon yeast
1 tablespoon salt
2 teaspoons sugar
3 cups water
olive oil (for coating)
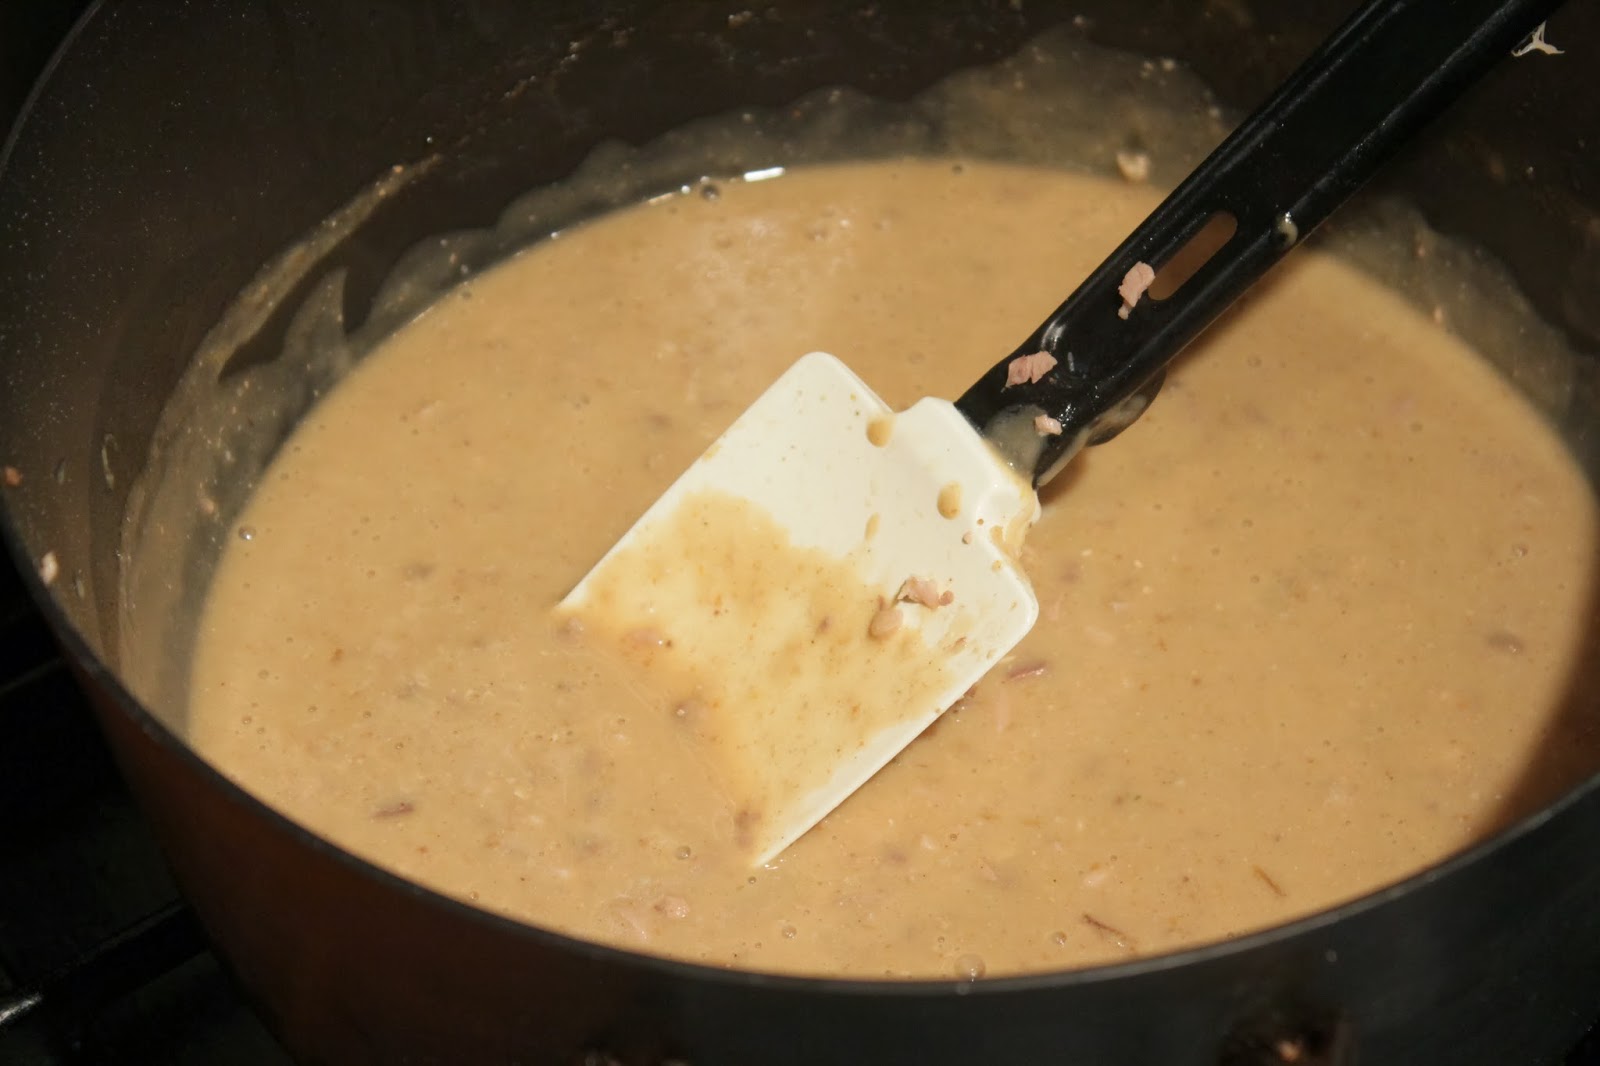
Combine the flour, yeast, salt, sugar, and water, working the dough with your hands. We use a very large ceramic bowl for this until the dough is fairly well-formed. Turn it out onto a wooden board to kneed it together. We use a pizza paddle which is ideal for this recipe.
 |
| Unsifted all-purpose flour |
 |
| Active yeast, unproofed |
 |
| Kosher salt |
 |
| White sugar |
 |
| Work it by hand |
Work the dough on your board, adding just a little more flour or water as needed until you have a fairly homogeneous mass. Now it is ready for the first 18-hour rise.
 |
| Work it on the board |
 |
| Work it all together |
 |
| Ready for the first rise |
Place your dough back in the bowl and coat it with olive oil. Cover it and place it in a warm spot in the kitchen and come back tomorrow.
 |
| Coat it with oil |
 |
| Cover it up and leave it alone |
After 18 hours, work the dough to prepare it for the second, mush shorter rise. Work the dough with your hands on your board to work out any air bubbles from the yeast,but also to build structure. Kneading the dough helps the proteins in the flour bind together to create a nice, dense loaf.
 |
| Knead it and shape it |
Shape the dough into two round loaves. Dust them with flour and wrap each of them loosely in cotton cloth. Let them rise for about four hours.
 |
| Ready for the second rise |
 |
| Four hours later - ready for the oven |
About 30 minutes before baking, preheat your oven to 500 with your cast iron skillets inside. Carefully place your loaves inside your skillets, one at a time. The pizza paddle is very good here also.
 |
| Baking in hot cast iron skillets |
Cover your loaves and let them bake for a couple of minutes. Then, add a bit of water to create steam. Do this again after about five minutes, and again at about ten minutes. After about 20 minutes of total baking time, remove lids and turn down the heat to 450. Back for another 10-15 minutes.
 |
| First steam - a little water down the spout |
 |
| Remove the lid for the second and third steaming |
Use a clean towel to remove your bread from the cast iron, placing the loaves on a rack and leaving the cast iron where it is until things have cooled down a bit.
This bread is delicious and is especially good with butter and honey.