I dedicated considerable time this long holiday weekend to improving my photography skills. The new camera provides an opportunity to cultivate new habits. Plus the differences between the old and the new have made it necessary.
So, first some notes on the upgrade. I have a Canon 10D. It's served me well for the better part of a decade in the realm of nature photography, out in the open where there is plenty of good, bright, natural lighting. Until the New Year's Even posting, it was not used in conjunction with this blog. In its day, it was a high-end prosumer product - better than the Rebel but not as good as the low-end professional gear. It had the same ability to manually set the camera, but the menuing was arcane. The professional photographer who taught the mini-course I took at the Y last spring was even baffled. Given the lack of understanding about my camera, I relied heavily on the "training wheels" - the settings familiar to many of us:
 |
| The Canon 10D - complete with training wheels |
Enter the 7D. This is a step (or maybe two) up from the 10D as Canon no longer makes an equivalent. The 60D is the closest approximation, but after doing a little research, it's actually much closer to the Rebel than it is to the 10D. So, we seriously upgraded. Gone are the training wheels, but in exchange I have a menuing system that I understand and can actually use:
 |
| The Canon 7D - a whole lot of auto settings eliminated |
So that got me moving in the right direction. The first thing I found was the white balance. Then I started manually setting my aperture and f-stop. All of this improved the quality of my food shots. The red influence from our halogen track lighting was diminished, and the shots started looking a bit sharper.
 |
| Poor white balance - default setting |
 |
| Better white balance - set for Tungsten lighting in my halogen-lit kitchen |
The next step was the introduction of the tripod. I've always been a hand-held photographer, believing I'll get that perfect shot only if I have the freedom to capture the subject from all possible angles as quickly as possible. While this may work for shooting flowers and butterflies, it does not work for shooting food.
But not all tripods are created equal. Stability is important, even if you are on level ground inside the house and everyone else is in bed asleep. The earth has energy, and, if you're using a crap tripod or an unstable setup, subtle vibrations will throw your image right out of focus. you should be able to see into the view finder without standing on tip-toe. Once the focal point, aperture and f-stop are set to your liking, it's hands-off except to click the shutter and take the shot.
 |
| Poor tripod setup |
 |
| Stable tripod setup |
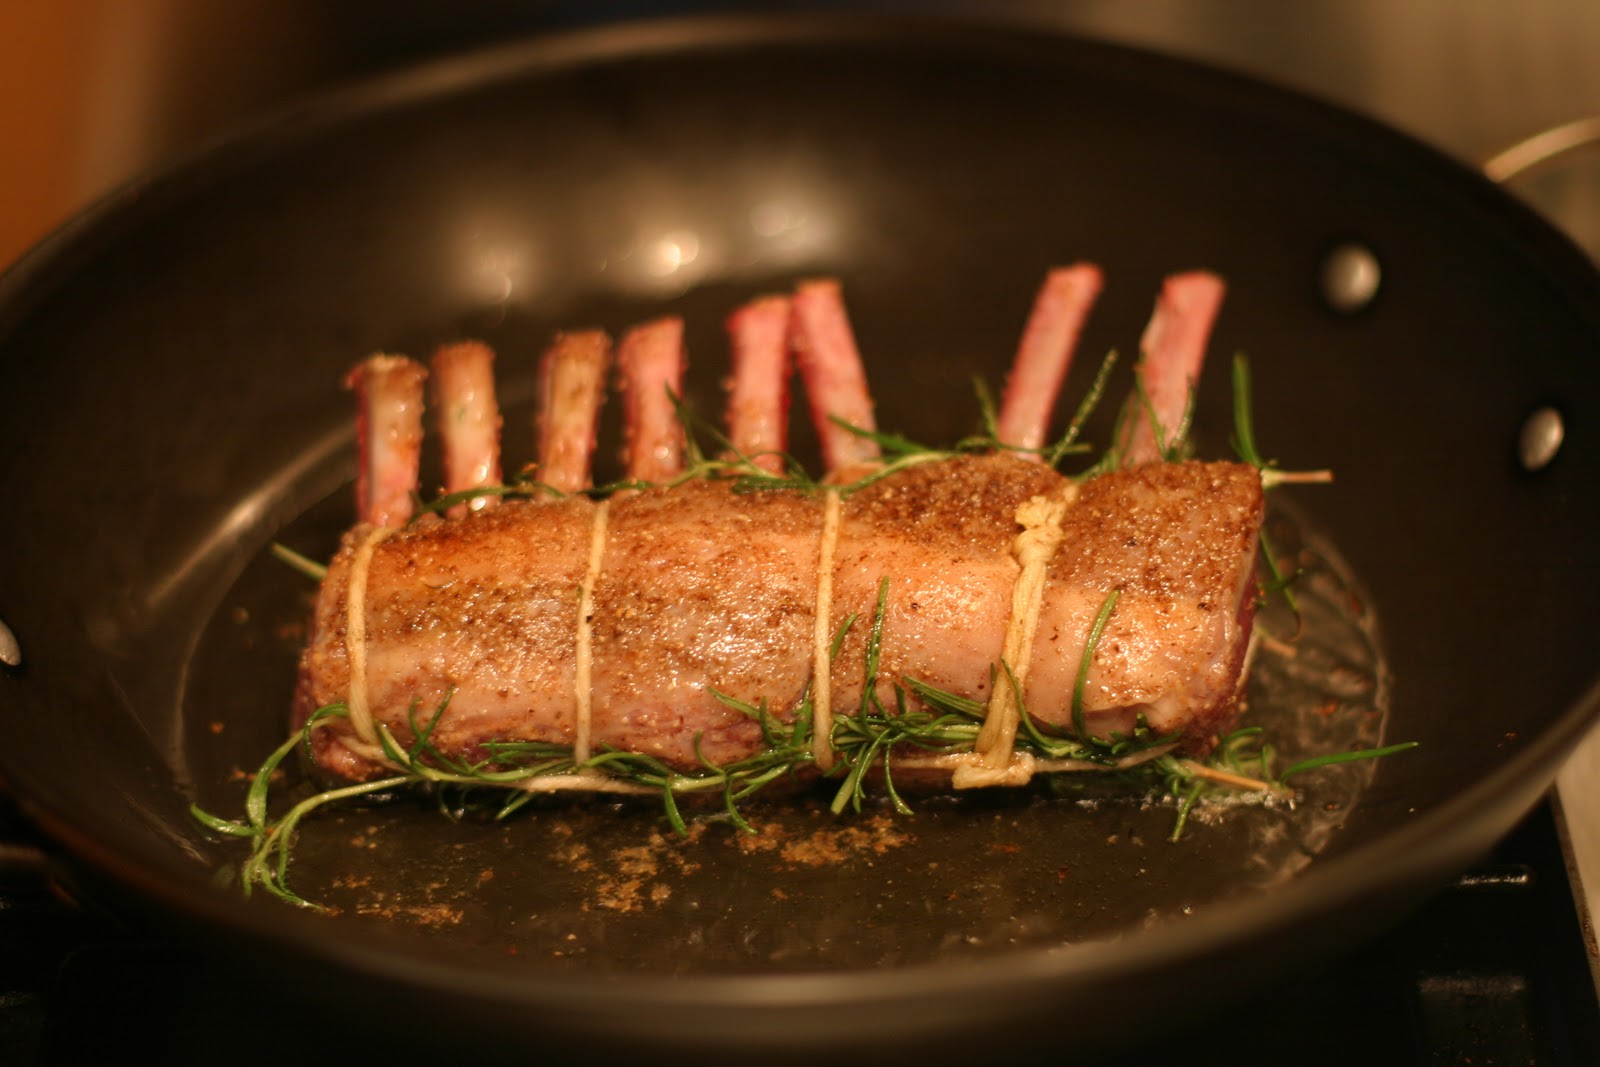
With a good tripod and a better understanding of aperture priority, I was able to alter the f-stop and play around with the focal points of my shots, moving away from the pin-point focus and fuzzy background to a more evenly-focused image.
That lighting remains an issue, though. Unless you can block off all natural light, things are going to change throughout the course of a shoot.
My pie crust posting is a perfect example. During the 30 minutes that my dough was resting, something happened to the ambient sunlight. And, here's another lesson - because I was multi-tasking, I was more focused on the pie crust than on the photography and did not fully appreciate the depreciated lighting until I downloaded my images.
 |
| Beginning of shoot - approximately 3:30 PM |
 |
| About 45 minutes later - much of the natural light is gone but I am too busy baking to notice |
 |
| End of shoot - about 5:30 PM, no natural light left but no change to white balance settings either |
I still have a long way to go. Looking at the work of others, it seems that white balance, aperture, f-stop, and stability are not enough. The best food photos have diffused light. A
Fervent Foodie post last week provides instruction on creating a home lighting kit. I think that's my next task.


So I like the new design direction, but that blue text just has to go. You can move it the the Img wrapping div's outside border and move the maroon that is currently there to the img border. Then you can re-use the maroon as your fig. caption text color. Maybe. or just change the text color to black and be done with it.
ReplyDelete